Word Processing Basics
Watch this topic in 60 seconds
Free preview · Lesson 1
Understanding Word Processing Basics
Word Processing Basics: Your Digital Writing Playground!
Hey 6th graders! Have you ever wanted to write a story, a school report, or even a letter to a friend, but found your handwriting a bit messy, or wished you could move paragraphs around without re-writing everything? Well, get ready to discover the magic of Word Processing! Think of a word processor as your super-powered digital typewriter, eraser, and art kit all rolled into one.
Imagine you have a special notebook that never runs out of pages, where you can easily change your handwriting, fix mistakes instantly, and even move entire sentences from one page to another without any scissors or glue. That's pretty much what a word processor does for you on a computer or tablet!
What is a Word Processor?
At its simplest, a word processor is a computer program or app that lets you create, edit, format, save, and print text documents. Instead of physically writing with a pen and paper, you type on a keyboard, and your words appear on a screen. It's like having an endlessly patient assistant for all your writing tasks.
Popular Word Processors:
- Microsoft Word: One of the most famous, like the 'classic' car of word processors.
- Google Docs: Free and works online, great for teamwork, like a shared digital whiteboard.
- Apple Pages: For those who use Apple computers or devices.
No matter which one you use, they all share many of the same basic features.
Getting Started: Opening a New Document
When you open a word processor, you'll usually see a blank page, just like opening a brand-new notebook. This is your canvas! To start a new project, you often click on 'File' and then 'New' or 'New Document'. If you've already started something, you'd click 'Open' to find your saved work.
Typing Your Text: Just Like Writing!
Once you have your blank page, you can start typing! Look for the blinking line – that's called the cursor. It's like the tip of your pencil, showing you exactly where the next letter you type will appear. Just type away, and watch your words fill the screen.
Making Your Words Look Great: Basic Formatting
This is where the word processor gets really fun! You can change how your text looks to make it clearer, more interesting, or to highlight important parts. Think of it like choosing different colored pens or styles of handwriting.
Common Formatting Tools:
- Bold (B): Makes text darker and thicker, like shouting a word to make it stand out. For example: This is important! You'll often see a 'B' icon for this.
- Italic (I): Makes text slant, often used for titles or words you want to emphasize gently, like a whispered secret. For example: This is interesting. Look for the 'I' icon.
- Underline (U): Puts a line under your text, just like you might do in a physical notebook for key information. For example: Remember this! The icon is usually a 'U'.
- Font Style and Size: You can change the 'handwriting' (font, like Arial, Times New Roman, Comic Sans) and how big or small the letters are (size, like 12pt, 18pt). It's like picking a fancy pen or a big chunky marker! You'll often see a drop-down menu with names and numbers.
- Text Color: Want your words to be blue or red? Most word processors let you pick a rainbow of colors for your text. Look for an icon that looks like an 'A' with a color bar underneath it.
Aligning Your Text: Where Does it Sit?
Alignment tells your text where to line up on the page. Imagine your notebook has different margins:
- Left Align: This is the most common, where all your text lines up neatly on the left side, like reading a regular book.
- Center Align: Makes your text perfectly centered on the page, often used for titles or poems.
- Right Align: Lines up your text on the right side, less common but useful for dates or addresses.
Saving Your Hard Work: Don't Lose It!
This is SUPER important! Saving your document is like putting your finished drawing or story into a safe folder so you don't lose it. If you don't save, and the computer shuts down or the power goes out, all your hard work could disappear!
- To Save: Click 'File' then 'Save' or 'Save As'. The first time you save, you'll give your document a name (like 'My Awesome Story') and choose where to store it on your computer.
- Save Often! Get into the habit of saving every 10-15 minutes. It's like taking quick photos of your progress so you always have a backup!
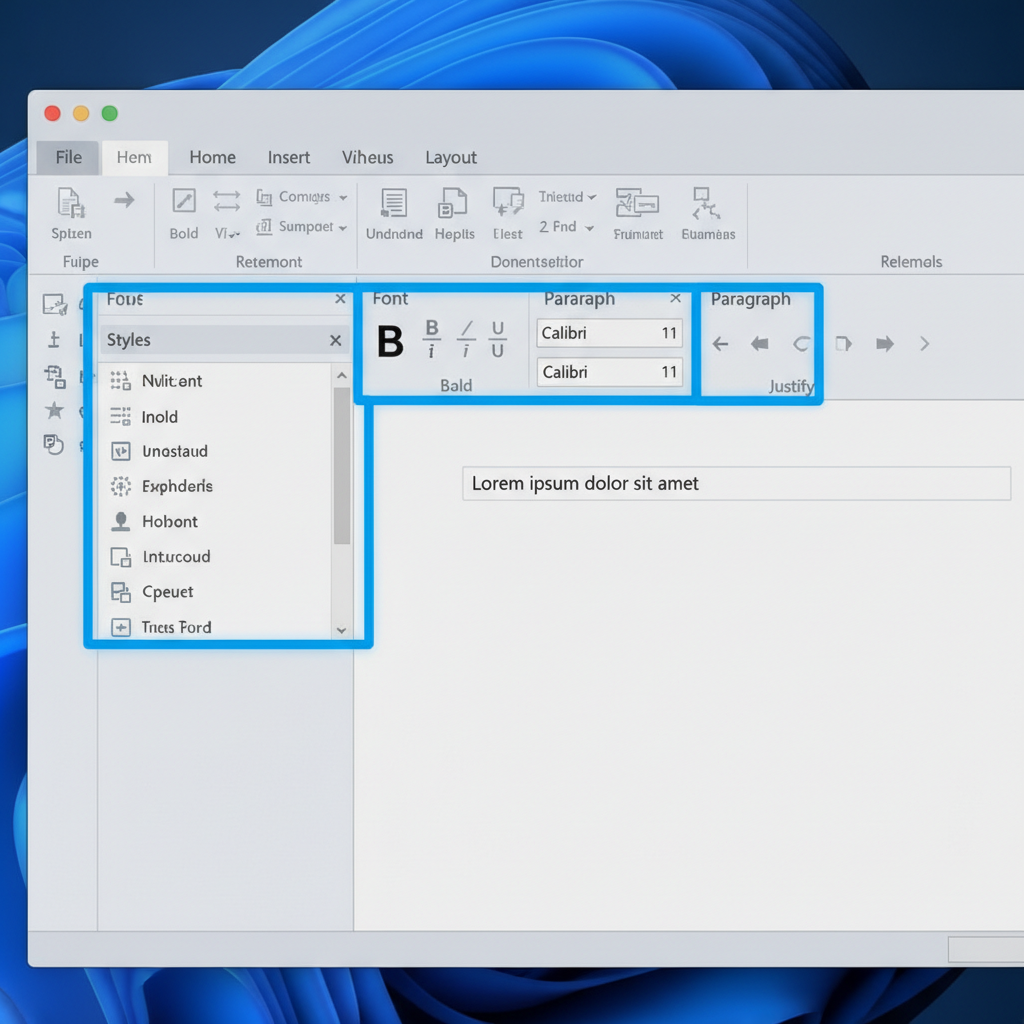 ⚠️ This picture may have spelling mistakes. Trust the words in the lesson.
Moving Text Around: Copy, Cut, and Paste
These tools are like having magical scissors and glue that don't make a mess!
- Copy: Makes an exact duplicate of selected text without removing the original. Think of it as making a photocopy. You select the text, then click 'Copy' (or Ctrl+C on Windows/Cmd+C on Mac).
- Cut: Removes the selected text from its original spot. It's like using scissors to snip out a piece of paper. You select the text, then click 'Cut' (or Ctrl+X on Windows/Cmd+X on Mac).
- Paste: Inserts the copied or cut text into a new location. Think of it as gluing the text down where your cursor is. Move your cursor to where you want the text to go, then click 'Paste' (or Ctrl+V on Windows/Cmd+V on Mac).
Copied or cut text goes into a temporary storage area called the 'clipboard' – like a hidden pocket where your computer holds things you've cut or copied.
Undoing Mistakes: The Magic Eraser!
Oops! Typed something wrong? Deleted too much? Don't worry! Almost every word processor has an Undo button. It's like a magic eraser that takes you back one step at a time. If you undo too much, there's usually a Redo button to bring back what you just undid. Look for curved arrow icons pointing left (Undo) and right (Redo).
Conclusion: Your Writing Superpower!
Word processing might seem like a lot to learn at first, but with practice, it becomes a powerful tool. It allows you to create amazing documents, fix mistakes easily, and present your ideas clearly and beautifully. It's a skill you'll use for school, for creative projects, and even in future jobs. So go ahead, open a word processor, and start creating your own digital masterpieces!
Keep learning, free
Create a free Syllabax account to unlock practice questions and games for this topic.
Visual Learning Enhanced! 🚀
To help you master this topic, we use Advanced Syllabax AI to generate detailed diagrams and visual models.
Note on Visuals: The AI sometimes makes spelling errors in image labels. Please refer to the lesson text for the correct terminology.