Creating Simple Slides & Content
Watch this topic in 60 seconds
Free preview · Lesson 1
Understanding Creating Simple Slides & Content
Welcome to the World of Digital Storytelling!
Hey there, future presenters! Have you ever told a story to your friends or shown off a cool drawing? Maybe you’ve seen a teacher use a big screen to show pictures and words while explaining something new? Well, that’s exactly what we’re going to learn about today – how to create simple slides and put your own amazing content on them!
What Are Slides, Anyway? Think of Them Like Digital Posters!
Imagine you have a really exciting idea or a story you want to share with everyone in your class. Instead of drawing it all on one giant piece of paper, you might draw different parts on several smaller pieces of paper, right? Then, you could show each paper one by one as you talk. That’s pretty much what slides are!
Slides are like individual digital posters or pages in a special digital storybook. They help you show off your ideas, pictures, and words one piece at a time. When you put many slides together, it’s called a presentation, and it’s a super cool way to share information with lots of people, whether it’s for school, a club, or just showing your family vacation photos!
Why Do We Use Slides? Sharing Your Awesome Ideas!
Think about a time you tried to explain a complicated game to a friend. Was it easier if you just talked, or if you also drew a picture or showed them a video? Probably with the picture or video, right? Slides work the same way! They help us:
- Share information clearly: Instead of just talking, slides let you show what you're talking about with text and pictures. It's like having a big whiteboard that everyone can see.
- Keep things organized: Each slide can focus on just one main idea, making it easier for your audience (the people listening and watching) to follow along.
- Make things interesting: Pictures, different colors, and cool fonts can make your presentation more fun to watch and listen to!
- Tell a story: Just like chapters in a book, each slide can be a new part of your story or topic.
Getting Started: Your First Digital Page!
When you open a presentation program (like Google Slides, Microsoft PowerPoint, or Apple Keynote), it usually starts you off with one blank slide. This is your first digital page!
Creating a New Slide: Adding More Pages to Your Story
You won't tell your whole story on just one page, will you? You'll need more! To add a new slide, you usually look for a button that says 'New Slide' or has a '+' sign. Clicking this button is like adding a fresh, blank piece of paper to your digital stack. Each new slide gives you a fresh start for a new idea or a new part of your story.
Adding Text: Writing Your Message
The most common thing you'll put on a slide is text – words! Just like writing in a notebook, you'll type your information onto the slide. Slides usually have special boxes where you can type.
The Two Main Kinds of Text Boxes:
- Title Box: This is usually at the very top of your slide and is for the main idea of *that specific slide*. Think of it like the chapter title in a book. It should be big and bold so everyone knows what the slide is about.
- Body Box (or Content Box): This is for all the details, facts, or bullet points that explain your title. It's where you put the 'meat' of your information.
The Golden Rule: Keep It Simple, Superstar!
This is super important! Imagine a toy box overflowing with toys – it’s hard to find anything, right? Slides are similar. If you put too many words, too many pictures, or too many different things on one slide, it becomes messy and hard for people to understand.
Think of each slide like a billboard you see on the side of the road. Billboards have big letters and just a few words because you only have a short time to read them. Your audience only has a short time to look at each slide!
Tips for Simple Text:
- Use Bullet Points: Instead of long sentences, use short phrases with bullet points (those little dots or symbols). It's like making a shopping list – quick and easy to read!
- Keywords Only: Don't write everything you want to say. Just put the most important words (keywords) on the slide. You can explain more when you talk.
- Big Text is Best: Make sure your text is big enough for everyone, even those in the back of the room, to read easily.
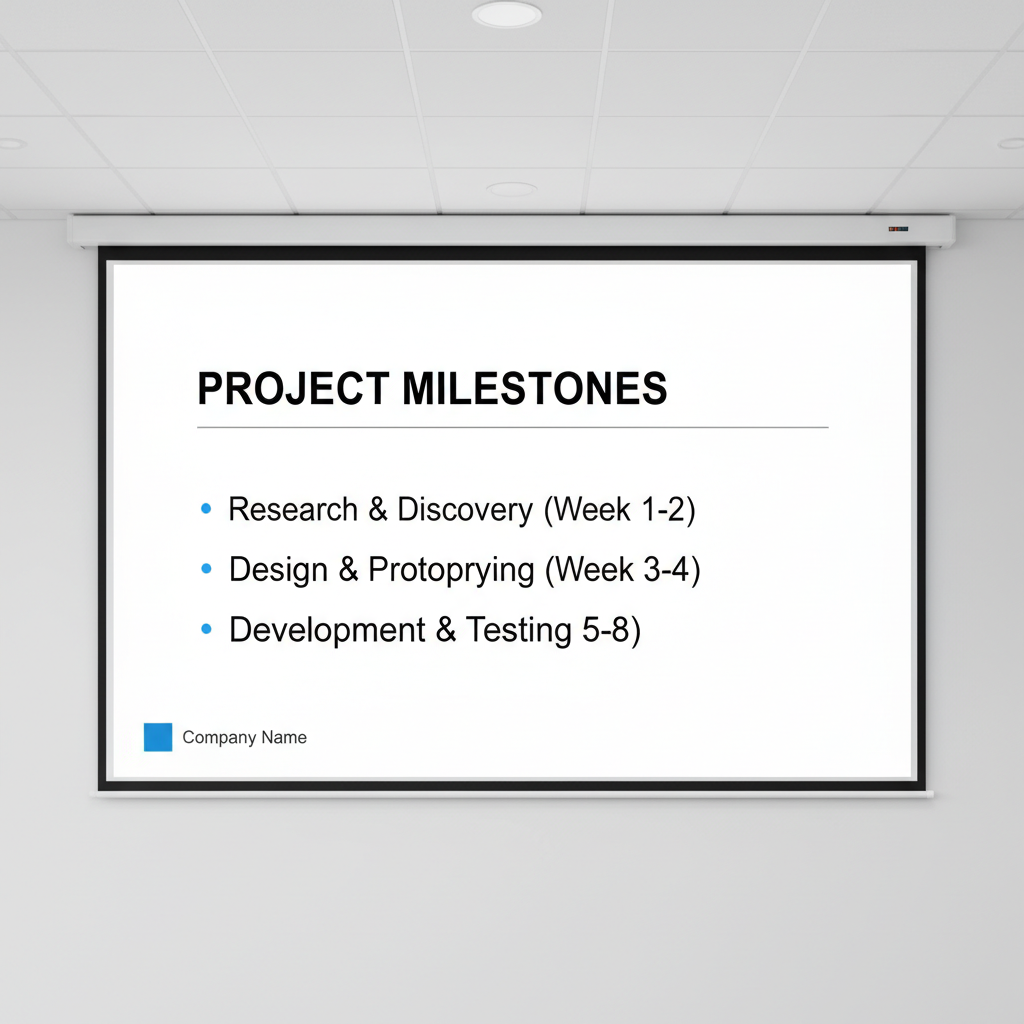 ⚠️ This picture may have spelling mistakes. Trust the words in the lesson.
Making it Look Good (But Still Simple!): Basic Design
After you have your words, you can make your slide look even better! This is like choosing the colors for your drawing or picking out clothes for a special event.
- Colors: You can change the color of your text or the background of your slide. Try to pick colors that look good together and are easy to read. Bright text on a dark background or dark text on a light background usually works best!
- Fonts: A font is like a style of handwriting. Some fonts are fancy, and some are plain. For presentations, it's usually best to pick a plain, clear font that's easy to read, like Arial or Calibri.
- Backgrounds: This is the 'wallpaper' of your slide. You can choose a solid color, a simple pattern, or even a picture. Just make sure the background doesn't make it hard to read your words!
Adding Pictures: A Picture is Worth a Thousand Words!
Sometimes, a picture can explain something much faster and better than a lot of words. If you're talking about dogs, wouldn't it be great to show a picture of a cute puppy?
Adding images (pictures) to your slides makes them more interesting and helps your audience understand your message. Look for an 'Insert Image' or 'Picture' button. You can usually find pictures saved on your computer or even search for them online (with a grown-up's help, of course!). Just like text, don't put too many pictures on one slide, and make sure they're clear and easy to see.
 ⚠️ This picture may have spelling mistakes. Trust the words in the lesson.
Putting It All Together: Your First Simple Presentation!
So, you've learned to create new slides, add titles and body text, keep your message simple with bullet points, and even add a picture or choose some colors. That's a huge start!
Remember, the goal of slides is to help you share your ideas clearly and excitingly. Start with one main idea per slide, use big, easy-to-read text, and add a picture if it helps. Practice making a few slides about your favorite animal, your summer vacation, or even a made-up story!
The more you practice, the better you’ll become at creating awesome digital presentations. You’re now on your way to becoming a digital storyteller and a fantastic presenter!
Keep learning, free
Create a free Syllabax account to unlock practice questions and games for this topic.
Visual Learning Enhanced! 🚀
To help you master this topic, we use Advanced Syllabax AI to generate detailed diagrams and visual models.
Note on Visuals: The AI sometimes makes spelling errors in image labels. Please refer to the lesson text for the correct terminology.