Learning Journey
Watch this topic in 60 seconds
Free preview · Lesson 1
Understanding Angle bisector (Constructions)
Understanding Angle Bisectors: Cutting Angles in Half, Perfectly!
Welcome, future geometers! Today, we're going to dive into a super useful and fundamental concept in geometry: the angle bisector. Think of an angle as a slice of pizza or a piece of cake. An angle bisector is like making a perfect cut right down the middle, so both sides are exactly equal. No arguments over who got the bigger slice!
What is an Angle? A Quick Refresh
Before we bisect, let's remember what an angle is. An angle is formed when two lines, called 'rays' or 'arms,' meet at a single point, which we call the 'vertex.' Imagine two roads merging or the hands of a clock. The space between them is the angle.
Introducing the Angle Bisector: The Perfect Divider
The word "bisector" comes from "bi" (meaning two) and "sect" (meaning to cut). So, an angle bisector is simply a ray that cuts an angle into two perfectly equal, smaller angles. It's like a fair referee dividing a playing field exactly down the middle so both teams have an equal starting area.
- If you have an angle that measures 60 degrees, its bisector will split it into two angles of 30 degrees each.
- If you have an angle that measures 100 degrees, its bisector will split it into two angles of 50 degrees each.
It always creates two identical halves!
Why Do We Care About Angle Bisectors? Practical Superpowers!
You might be thinking, "Why do I need to know how to cut an angle in half?" Well, angle bisectors have many practical applications, even outside of a geometry textbook:
- Design and Art: Artists and designers use bisectors to create symmetrical patterns, perfect star points, or balanced architectural drawings. Imagine designing a perfectly symmetrical logo!
- Carpentry and Construction: Carpenters might need to cut a piece of wood at a precise angle to fit into a corner. If they need to build a frame where two beams meet, bisecting the corner angle ensures perfect symmetry and strength.
- Navigation: In navigation, finding a path that is equally distant from two converging paths could involve the concept of an angle bisector.
- Robotics: Programmers might use these principles to ensure a robot moves at an equal angle between two obstacles.
It's all about precision and creating balance.
The Tools of the Trade: Compass and Straightedge
To construct an angle bisector, we don't need a protractor (which measures angles) or a ruler (which measures length). We need two simple, yet powerful, tools:
- A Compass: This is a tool with two arms, one with a sharp point and the other with a pencil. It's used for drawing perfect circles or arcs (parts of circles). Think of it as your circle-drawing superhero!
- A Straightedge: This is simply anything with a perfectly straight edge, like a ruler or the side of a book. Its only job is to help you draw straight lines, not to measure length.
These two tools are the foundation of classic geometric constructions.
Let's Get Constructing! Step-by-Step Guide to Bisecting an Angle
Follow these steps carefully, and you'll be bisecting angles like a pro in no time! Imagine you have an angle, let's call it <ABC, with its vertex at point B.
Step 1: Draw Your Angle
First, draw an angle using your straightedge. Label the vertex (the point where the two rays meet) as 'B', and the two arms (rays) as 'BA' and 'BC'.
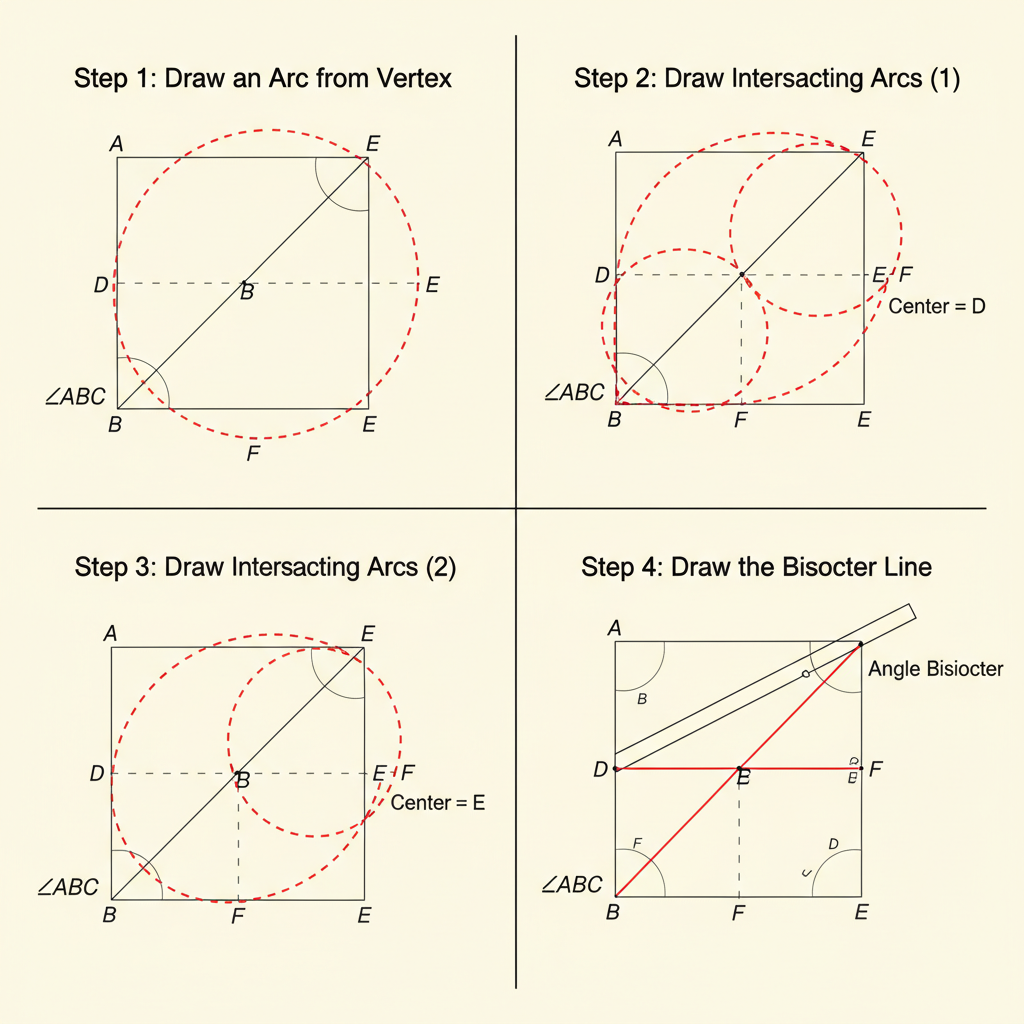
Step 2: Swing an Arc from the Vertex
Place the sharp point of your compass on the vertex of the angle (point B). Open your compass to any convenient width (not too wide, not too small). Now, draw an arc that crosses *both* arms of the angle. This arc will intersect arm BA at a point (let's call it P) and arm BC at another point (let's call it Q).
Think of this arc as marking out an equal distance from the vertex along both arms of the angle. It's like setting a starting line for our next steps.
 ⚠️ This picture may have spelling mistakes. Trust the words in the lesson.
Step 3: Create Intersecting Arcs
Now, keep your compass at the *same* width as in Step 2 (this is important!).
- Place the compass point on P (where the first arc met arm BA). Draw a new arc in the interior of the angle.
- Without changing the compass width, move the compass point to Q (where the first arc met arm BC). Draw another new arc.
These two new arcs should intersect each other at a point. Let's call this intersection point 'R'.
Imagine you're trying to find a spot that's exactly the same distance from both P and Q. Where these two circles (or arcs) meet is that magical spot!
Step 4: Draw the Bisector Ray
Finally, use your straightedge to draw a straight line (a ray) from the vertex (point B) through the intersection point R. This ray, BR, is your angle bisector!
Congratulations! You have just constructed a ray that divides your original angle <ABC into two perfectly equal angles: <ABR and <CBR. These two new angles will have exactly half the measure of the original angle.
Why Does This Work? The Magic of Congruent Triangles
Without getting too deep into proofs (which you'll explore more in higher grades), the reason this construction works is because it cleverly creates two congruent triangles. The arcs you draw ensure that certain sides of these triangles are equal, and by the rules of geometry (specifically the SSS - Side-Side-Side congruence postulate), if three sides of one triangle are equal to three sides of another triangle, then the triangles are identical in every way, including their angles!
So, when you connect B to R, you are essentially drawing the line of symmetry that ensures the two resulting angles are equal.
Summary: You're a Master Angle-Splitter!
Remember, an angle bisector is all about precision and fairness. It's a ray that cuts any angle into two perfectly identical smaller angles. With just a compass and a straightedge, you can perform this fundamental construction. Keep practicing, and you'll see how these basic geometric skills become building blocks for much more complex and exciting designs!
Keep learning, free
Create a free Syllabax account to unlock practice questions and games for this topic.
Visual Learning Enhanced! 🚀
To help you master this topic, we use Advanced Syllabax AI to generate detailed diagrams and visual models.
Note on Visuals: The AI sometimes makes spelling errors in image labels. Please refer to the lesson text for the correct terminology.