Making Digital Stickers
Watch this topic in 60 seconds
Free preview · Lesson 1
Understanding Making Digital Stickers
Welcome to the Wonderful World of Digital Stickers!
Hello, young artists! Are you ready for a super fun adventure? Today, we're going to learn about something really cool called Digital Stickers! Imagine your favorite stickers – maybe a sparkly star, a cute animal, or a funny face. You can peel them off and stick them on your lunchbox, your notebook, or your bedroom door, right? Well, digital stickers are just like those, but they live inside your computer or tablet! You can't hold them in your hand, but you can see them on your screen and use them to decorate digital pictures, messages, or even games!
Think of it like this: your screen is your special paper, and your finger or a special pen is your magic crayon! We're going to use this magic to make our very own, brand-new stickers that no one else has!
What Are Digital Stickers, Really?
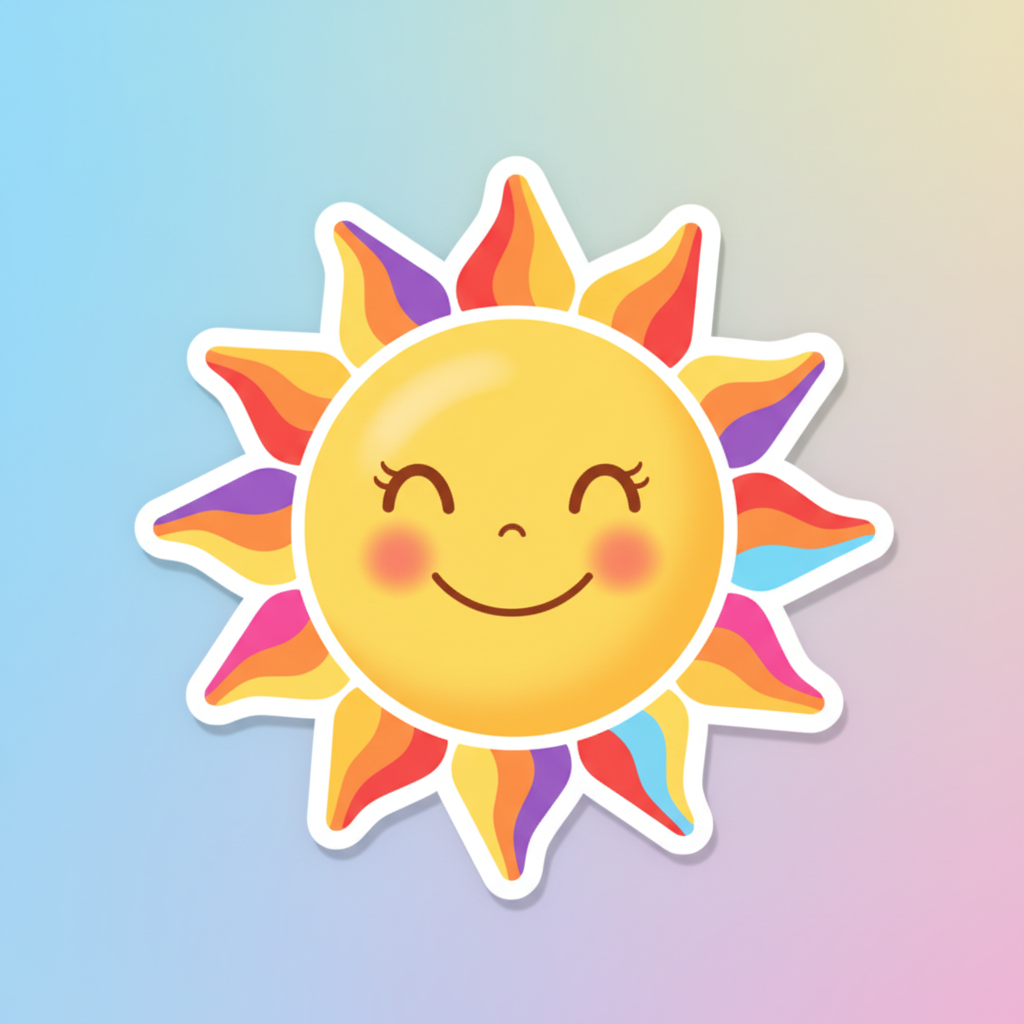
Let's make it super clear! A digital sticker is like a tiny, colorful picture that you make on a screen. Once you make it, you can use it again and again. It's like having an endless supply of your favorite sticker! When you see a sticker on a messaging app, or decorating a photo, that's a digital sticker!
 ⚠️ This picture may have spelling mistakes. Trust the words in the lesson.
Analogy Time! Imagine you have a special stamp. Every time you press it on paper, it leaves the same picture. A digital sticker is like that, but you make the stamp yourself, and it's all on your screen!
Your Magic Drawing Pad: The Digital App
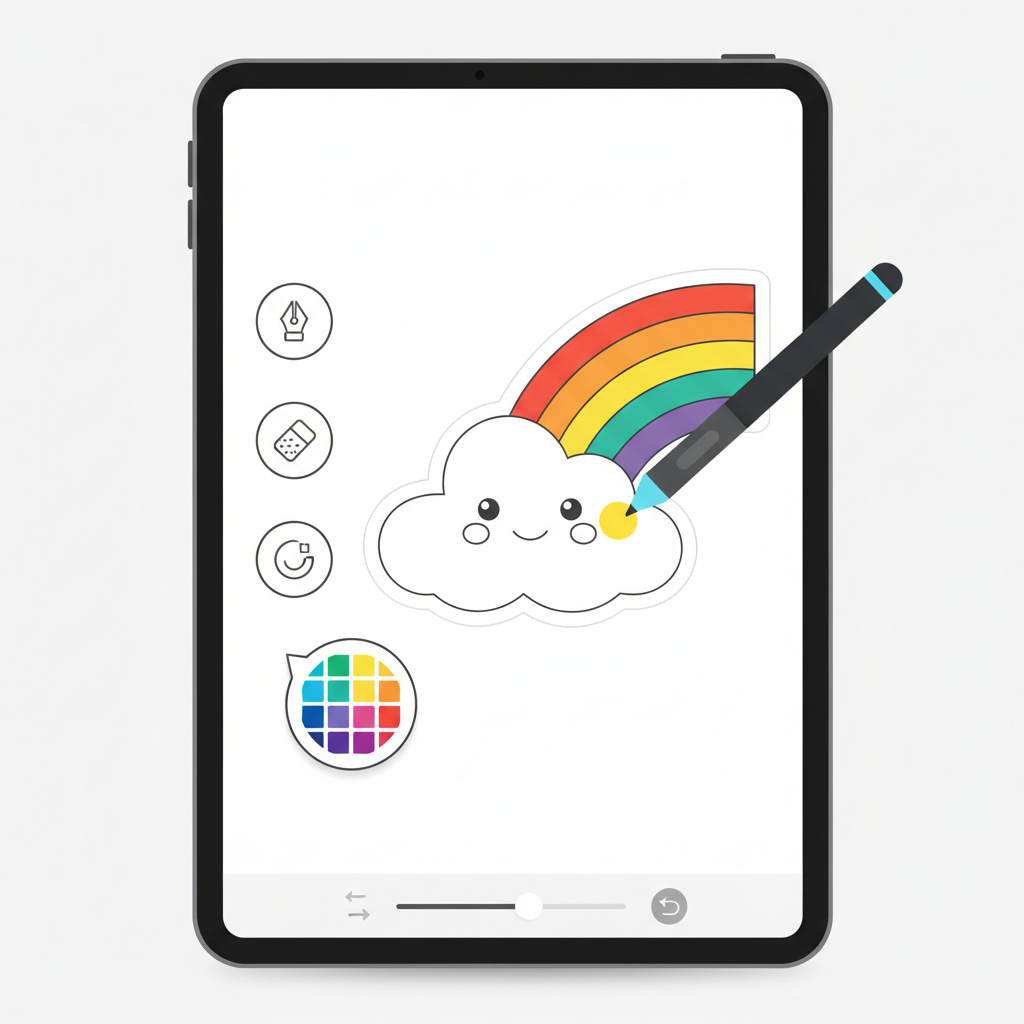
To make digital stickers, we need a special place to draw. We'll use a drawing app on a tablet or a computer. Think of a drawing app as your digital art studio! Instead of a big table with lots of paper, crayons, and paints, everything you need is right there on your screen.
- Your Device: This is like your art table. It could be a tablet (like an iPad) or a computer.
- The Drawing App: This is like your big box of crayons, markers, and paints all rolled into one super cool program! It has all the tools you need to draw, color, and make your sticker amazing.
Don't worry, these apps are usually very easy to use, especially for first graders like you!
Step 1: Drawing Shapes and Lines – The Building Blocks!
Every great drawing starts with simple shapes and lines, right? When you build with LEGOs, you start with simple blocks. Digital stickers are the same!
- Shapes: These are like the building blocks for your sticker!
- A circle can be a happy face, a sun, or a yummy cookie!
- A square can be a robot's body, a window, or a piece of cheese!
- A triangle can be a party hat, a mountain, or a slice of pizza!
You can draw these shapes using tools in your drawing app. There's often a special "shape tool" that helps you make perfect circles and squares with just one tap or click!
- Lines: These are like the roads you draw connecting different places.
- A straight line can be an arm, a leg, or the side of a box.
- A curvy line can be a smile, a cloud, or a wiggly worm!
You use your finger or a special pen to draw lines right on the screen, just like drawing with a pencil on paper!
Analogy Time! Imagine you're building a robot with play-doh. First, you might make a big round ball for the head (a circle). Then, you might roll out long pieces for the arms and legs (lines). That's exactly how we start building our digital stickers!
Step 2: Choosing Colors – Making it Pop!
What's a sticker without color? Pretty boring, right? This is where your sticker really comes alive!
- Color Palette: Your drawing app will have a super big box of colors, called a "color palette." It's like having every crayon, marker, and paint color in the world all in one spot!
- Filling In: You can choose a color and then "fill in" your shapes. It's like taking a bucket of paint and pouring it inside the lines you drew. Poof! Your circle is now a bright yellow sun!
Analogy Time! Think about painting a picture. First, you draw the outline. Then, you pick your favorite colors and carefully paint inside the lines. Making digital stickers is just like that, but with magic digital paint!
Step 3: Adding Details – Making it Special!
Now for the fun part – making your sticker totally unique and special!
- Eyes and Smiles: A little circle for an eye, a curvy line for a smile, and suddenly your sun has a happy face!
- Stars and Hearts: You can draw tiny stars, hearts, or even polka dots to make your sticker extra fancy.
- Textures: Some apps even let you add patterns, like stripes or dots, to make your sticker look fluffy or sparkly!
Analogy Time! This is like decorating a cupcake! First, you bake the cupcake (that's your basic shape). Then, you add frosting (that's your color). Finally, you put on sprinkles, cherries, and maybe a little candle (those are your fun details)!
 ⚠️ This picture may have spelling mistakes. Trust the words in the lesson.
Step 4: Oops! Erasing Mistakes is Easy-Peasy!
Don't worry if you draw a line that goes a little bit wrong, or if you pick the wrong color. Everyone makes mistakes, even big artists!
- The Eraser Tool: Your drawing app has a magic "eraser tool." It's like a superhero eraser that can make any part of your drawing disappear without tearing your digital paper. Zoom! Gone!
- Undo Button: Many apps also have an "undo" button. It's like a time machine! If you do something you don't like, you can press "undo," and it's like it never happened. Poof! Back to before you made the mistake!
Analogy Time! Imagine you're building a tower with blocks, and one block falls. You just pick it up and put it back, right? Or maybe you draw with a pencil, and you use a rubber eraser to clean up a wiggly line. It's just like that, but on your screen!
Step 5: Saving Your Sticker – Keep it Safe!
You've made a super awesome sticker! Now, we need to save it so you can use it again and again. This is a very important step!
- The Save Button: Look for a button that might say "Save" or have a picture of a little floppy disk (that's an old-fashioned way to save, but the icon is still used!). When you press it, your sticker gets stored safely inside your device.
- Giving it a Name: Sometimes, the app will ask you to give your sticker a name. You can call it "My Happy Sun" or "My Robot Friend" so you can find it easily later.
Analogy Time! Think about drawing a beautiful picture with crayons. When you're finished, you wouldn't just leave it on the floor, right? You'd put it in a special folder or hang it on the fridge so everyone can see it and it stays safe. Saving your digital sticker is just like putting it in its own special digital folder!
Using Your Awesome Digital Sticker!
Once your sticker is saved, you can use it in so many ways!
- You can put it on a digital birthday card for a friend!
- You can add it to a photo to make it extra funny or cute!
- You can even share it with your family!
Isn't that amazing? You made something with your own creativity, and now you can share it with the world!
You Are a Digital Sticker Artist!
See? Making digital stickers is a lot like drawing and coloring, but with some special digital tools! It's about using shapes, colors, and your imagination to create something unique on a screen. Every time you make one, you're practicing being an amazing digital artist!
Keep exploring, keep drawing, and keep making those fantastic digital stickers!
Keep learning, free
Create a free Syllabax account to unlock practice questions and games for this topic.
Visual Learning Enhanced! 🚀
To help you master this topic, we use Advanced Syllabax AI to generate detailed diagrams and visual models.
Note on Visuals: The AI sometimes makes spelling errors in image labels. Please refer to the lesson text for the correct terminology.