Introduction to Presentation Software
Watch this topic in 60 seconds
Free preview · Lesson 1
Understanding Introduction to Presentation Software
Introduction to Presentation Software (Grade 10 - Foundational)
Welcome, 10th-grade learners, to the exciting world of presentation software! In today's digital age, being able to communicate your ideas clearly and visually is a superpower. Whether you're presenting a science project, sharing a book report, or even just explaining a new concept to friends, presentation software is your ultimate tool. Think of it as your personal digital storyteller!
What Exactly Is Presentation Software?
At its core, presentation software is a type of computer program that allows you to create a series of digital "slides" to convey information visually and verbally. It's designed to help you organize your thoughts, add images, charts, and even videos, and then display all of this content in an engaging way to an audience. Imagine you have a really important story to tell, but instead of just talking, you want to show pictures, write down key ideas, and make it look professional and exciting. That's exactly what presentation software helps you do!
Analogy: Your Digital Whiteboard & Storybook!
- Think of presentation software like a very advanced digital whiteboard. Instead of just writing and drawing on one board, you get an endless supply of boards (slides), and you can design each one perfectly.
- Another way to look at it is like creating a personalized, interactive storybook. Each page (slide) tells a part of your story, and you get to design how that page looks, what pictures are on it, and what words are written. You can even decide how the pages turn!
Why Do We Use Presentation Software? The Power of Visuals!
Humans are very visual creatures. We remember things better when we see them. Presentation software leverages this fact to make your messages more impactful. Here’s why it’s so crucial:
- Engagement: A presentation with compelling visuals is far more interesting than someone just talking. It captures attention and keeps the audience focused.
- Clarity: Complex ideas can be broken down into simple, digestible slides. Visual aids like diagrams or charts can explain things words alone cannot.
- Organization: It helps you structure your thoughts logically, ensuring you cover all your points in a coherent order. It's like having a digital outline always guiding you.
- Professionalism: Well-designed presentations make you and your ideas look credible and polished.
- Accessibility: You can easily share your presentations digitally with others, allowing them to review your content at their own pace.
Key Components & Core Concepts: Building Blocks of a Presentation
Let's break down the main parts you'll encounter when using presentation software:
1. Slides: The Pages of Your Story
A slide is the individual "page" or "canvas" within your presentation. Each slide typically focuses on one main idea or a small set of related points. Your entire presentation is made up of a sequence of these slides.
Analogy: If your presentation is a book, each slide is a single page in that book. If it's a comic strip, each slide is a frame.
2. Text Boxes: Your Digital Notepad
A text box is a rectangular area on a slide where you type and format text. This is where you put your headings, bullet points, paragraphs, and any other written information.
Analogy: Think of text boxes like digital sticky notes or individual labels you can place anywhere on your slide.
3. Images, Pictures, & Graphics: Bringing Your Ideas to Life
These are visual elements you insert into your slides, such as photographs, clip art, illustrations, logos, or diagrams. Images are incredibly powerful for making your points clear and your presentation engaging.
Analogy: These are the illustrations in your storybook, the props on your stage, or the photos you'd put on a mood board to show your ideas.
4. Shapes: Basic Building Blocks for Visuals
Presentation software often includes a variety of pre-drawn shapes (circles, squares, arrows, stars, etc.) that you can add to your slides. You can use them to highlight text, create simple diagrams, or add decorative elements.
Analogy: Shapes are like the basic building blocks or LEGO pieces you can use to construct more complex visuals or just add a bit of flair.
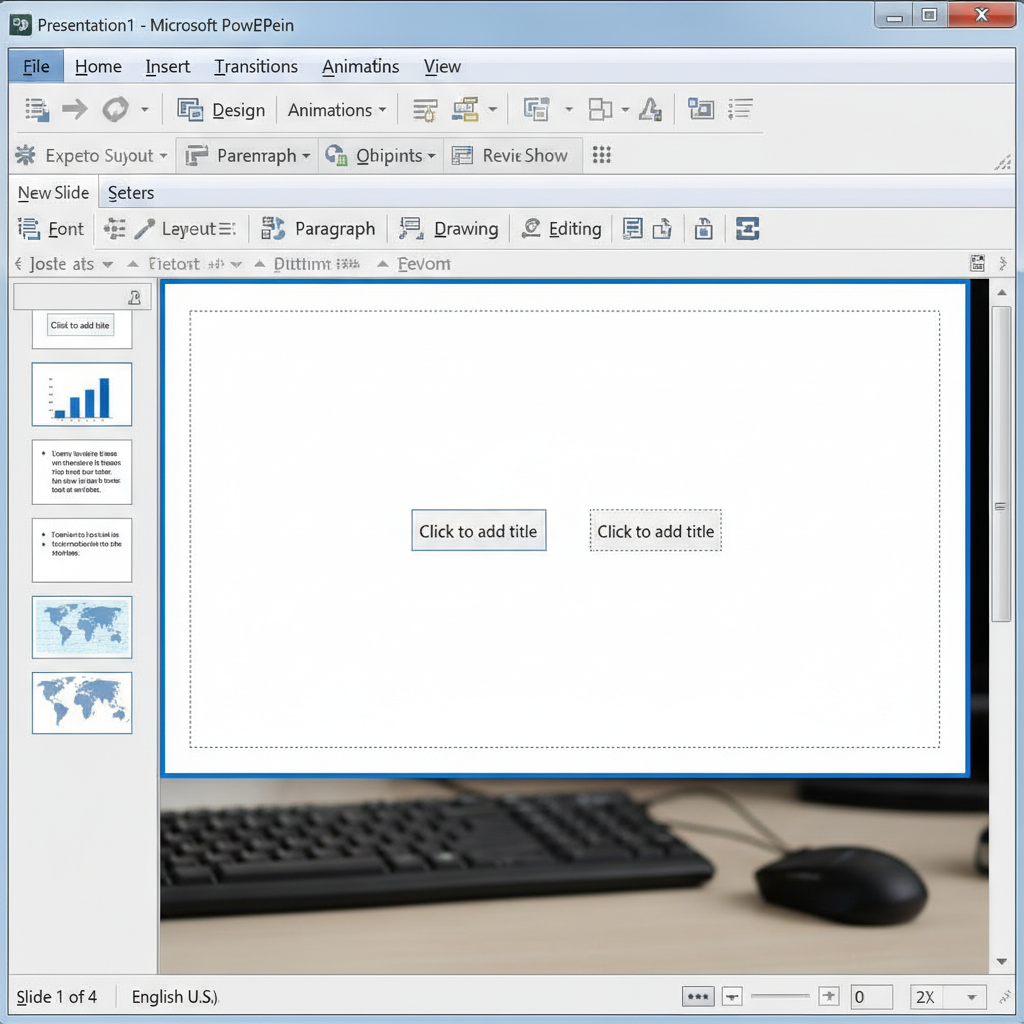 ⚠️ This picture may have spelling mistakes. Trust the words in the lesson.
5. Themes & Templates: Instant Makeovers!
A theme (or template) is a pre-designed set of colors, fonts, and layouts that gives your entire presentation a consistent and professional look. Instead of choosing colors and fonts for every slide individually, you can apply a theme to instantly give your presentation a unified style.
Analogy: Imagine you're throwing a party. A theme is like choosing a pre-decorated party kit – all the plates, balloons, and banners match perfectly, saving you a lot of time and making everything look coordinated. Or, think of it as choosing an outfit style: once you pick "casual" or "formal," many other choices (shoes, accessories) fall into place.
6. Transitions: The Flow Between Your Scenes
Transitions are the visual effects that occur when you move from one slide to the next during a presentation. They control how one slide disappears and the next one appears (e.g., fading, pushing, wiping).
Analogy: In a play, transitions are like the curtain closing and opening between scenes, or the lights dimming and brightening. In a movie, it's how one shot smoothly (or dramatically) changes to the next.
7. Animations: Bringing Elements to Life on a Slide
Animations are visual effects applied to individual objects (text, images, shapes) *within* a single slide. They control how these objects appear, disappear, or move on the slide.
Analogy: If transitions are the curtain movements between scenes, animations are like making the actors or props move *on* the stage during a scene. For example, a bullet point might fly in from the side, or an image might zoom into view.
8. Speaker Notes: Your Secret Script
Speaker notes are private notes or reminders that only the presenter can see while delivering the presentation. They appear on your screen but not on the screen the audience sees. They help you remember key points, statistics, or stories related to each slide.
Analogy: These are like your personal "cheat sheet" or script that you keep hidden behind the podium, helping you remember what to say for each part of your presentation without the audience knowing.
9. Slide Show Mode: The Grand Performance
Slide Show Mode is the full-screen view of your presentation, where each slide fills the entire screen, and all transitions and animations play out. This is how your audience will see your final presentation.
Analogy: This is like turning on a movie projector or putting your play on the big stage for the audience to watch the final performance.
Common Presentation Software Examples
While there are many options available, some of the most popular include:
- Microsoft PowerPoint: Often considered the industry standard, widely used in schools and businesses.
- Google Slides: A free, web-based alternative that is great for collaboration and accessible from any device with internet.
- Apple Keynote: Apple's elegant presentation software, known for its smooth animations and user-friendly interface.
Basic Steps to Create a Simple Presentation
Getting started is easier than you think! Here's a quick guide:
- Open the Software: Launch PowerPoint, Google Slides, or Keynote.
- Start a New Presentation: Choose a blank presentation or select a template to get a head start on design.
- Add New Slides: Click the "New Slide" button to add more pages to your presentation. Each slide can have a different layout (e.g., title slide, title and content, two content columns).
- Add Content: Click inside text boxes to type your headings and bullet points. Use the "Insert" menu to add images, shapes, charts, or videos.
- Apply a Theme: Go to the "Design" or "Theme" tab and select a theme to give your presentation a consistent look.
- Add Transitions (Optional, but Fun!): Go to the "Transitions" tab and choose how your slides will move from one to the next. Don't overdo it!
- Add Animations (Optional): Select an object on a slide, then go to the "Animations" tab to make it appear or move in a specific way. Again, use sparingly for clarity.
- Save Your Work: Save your presentation frequently to avoid losing your progress.
- Practice & Present: Run through your presentation in "Slide Show Mode" to check the flow and practice what you'll say.
Tips for a Great Foundational Presentation
- Keep it Simple: Don't overload your slides with too much text or too many images. Less is often more.
- Use Visuals Wisely: Images should support your message, not distract from it. Make sure they are high quality.
- Font & Color Choices: Choose fonts that are easy to read and colors that contrast well so your text stands out. Stick to 2-3 consistent fonts and colors.
- Practice, Practice, Practice: Knowing your content well makes you sound confident and professional.
You now have a solid understanding of what presentation software is, why it's used, and its fundamental building blocks. Go forth and create amazing visual stories!
Keep learning, free
Create a free Syllabax account to unlock practice questions and games for this topic.
Visual Learning Enhanced! 🚀
To help you master this topic, we use Advanced Syllabax AI to generate detailed diagrams and visual models.
Note on Visuals: The AI sometimes makes spelling errors in image labels. Please refer to the lesson text for the correct terminology.