Conducting Simple Experiments
Watch this topic in 60 seconds
Free preview · Lesson 1
Understanding Conducting Simple Experiments
Become a Super Scientist: Conducting Simple Experiments!
Have you ever wondered why the sky is blue, or why some toys float and others sink? Asking questions like these is the first step to becoming a super scientist! An experiment is like being a detective trying to solve a mystery about how the world works. We ask questions and then try to find answers by doing things in a special, careful way.
Scientists do experiments to learn new things, understand why things happen, and test their ideas. It's an amazing way to explore the world around us!
The Steps of an Experiment (Like a Recipe!)
Doing an experiment is a bit like following a recipe to bake cookies. Each step is important to get a yummy result (or in science, a clear answer!).
Step 1: Ask a Question (The Mystery!)
This is where all the fun begins! What do you wonder about? What makes you curious? A good question is something you can test. For example:
- "Does a ball bounce higher on grass or concrete?"
- "Do plants grow faster with music?"
- "Which brand of paper towel soaks up the most water?"
Think about something you want to know! This is your science mystery to solve.
Step 2: Make a Hypothesis (Your Smart Guess!)
After you have your question, it's time to make your best guess about what you think will happen. This educated guess is called a hypothesis. It's not right or wrong, it's just what you *predict*. You might say, "I think..." or "If I do this, then this will happen."
Analogy: Imagine your friend wraps a present, and you try to guess what's inside before you open it. That's like making a hypothesis! You're making a smart guess based on what you know.
Step 3: Gather Materials (Your Tools!)
What do you need to do your experiment? Make a list of everything, just like you would list ingredients for a recipe. Be specific!
Step 4: Follow the Steps (The Recipe!)
This is the "how-to" part. You write down exactly what you will do, step-by-step. It's super important to be clear so someone else could do your experiment and get similar results!
Important Idea: Fair Test!
When you do an experiment, you usually want to find out what happens when you change just one thing. This is called making a fair test. If you change too many things at once, you won't know which change caused your results!
Analogy: Imagine you're racing two friends. If one friend has brand-new, super-fast running shoes and the other friend has heavy, old boots, that's not a fair race! To make it fair, they both need similar shoes. In an experiment, we call the thing we change on purpose the "variable." For a fair test, you only change ONE variable at a time, keeping everything else the same.
For example, if you're testing if sunlight makes plants grow taller, you would give both plants the same amount of water, same soil, and same pot. The only thing you change is the amount of sunlight. This makes it a fair test!
Step 5: Observe and Record (Your Super Senses and Notebook!)
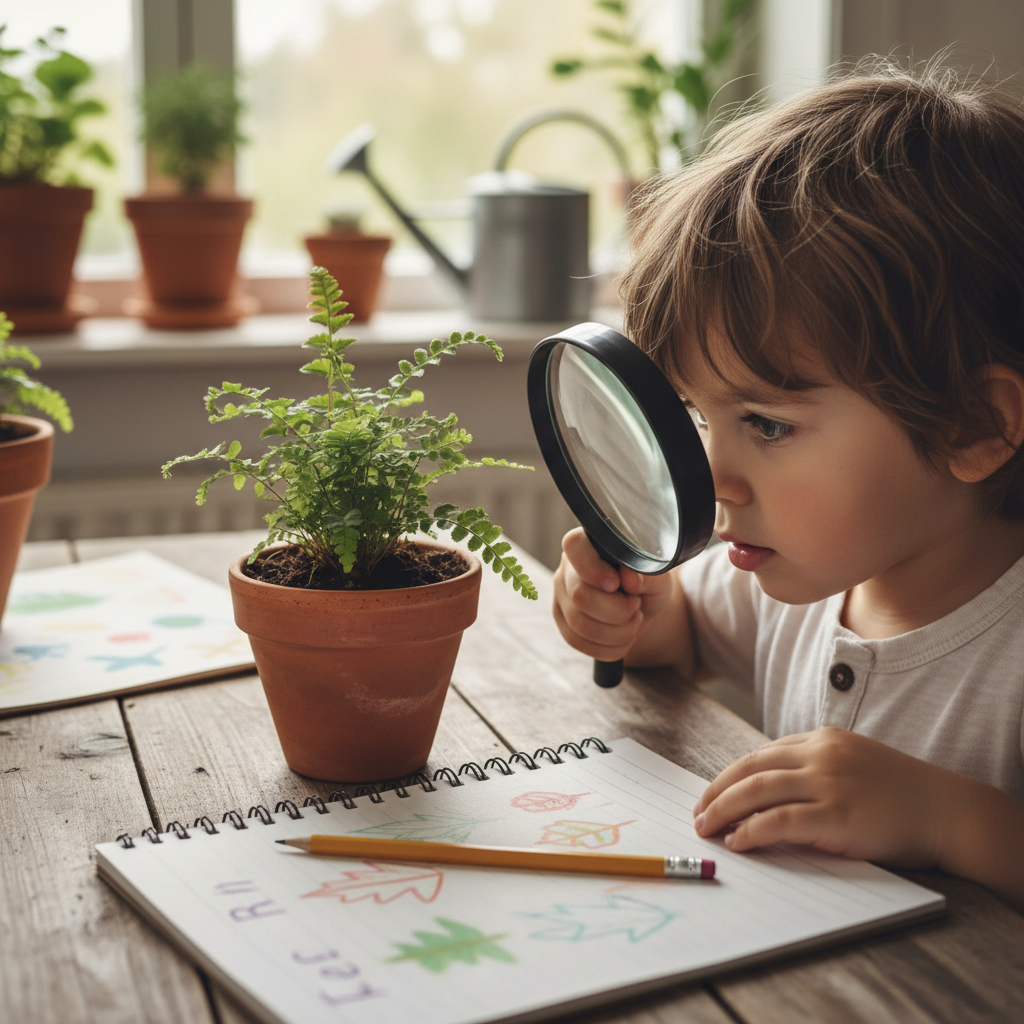
As your experiment is happening, you need to watch very, very carefully. What do you see? What do you hear? What do you feel? These are your observations. It's like using your "super senses" to notice every little detail!
You also need to write it all down! This is called recording data. You can use words, drawings, numbers, or even charts. Writing things down helps you remember what happened and share it with others.
Analogy: Think about watching a squirrel bury a nut. If you want to find it later, you need to observe exactly where it went and maybe even draw a little map in your mind. In science, we draw and write it on paper!
Step 6: Draw a Conclusion (What Did You Learn?)
After you've finished your experiment and looked at all your observations (your data), it's time to answer your original question. What did you learn? Was your hypothesis correct? It's okay if it wasn't! You still learned something new, and that's what science is all about!
Analogy: This is like finishing a puzzle. You've put all the pieces together, and now you can see the complete picture and understand how it all fits.
Let's Do an Example Experiment Together!
Our Question:
Does the amount of water affect how tall a bean plant grows?
Our Hypothesis:
I think the bean plant that gets more water will grow taller.
Our Materials:
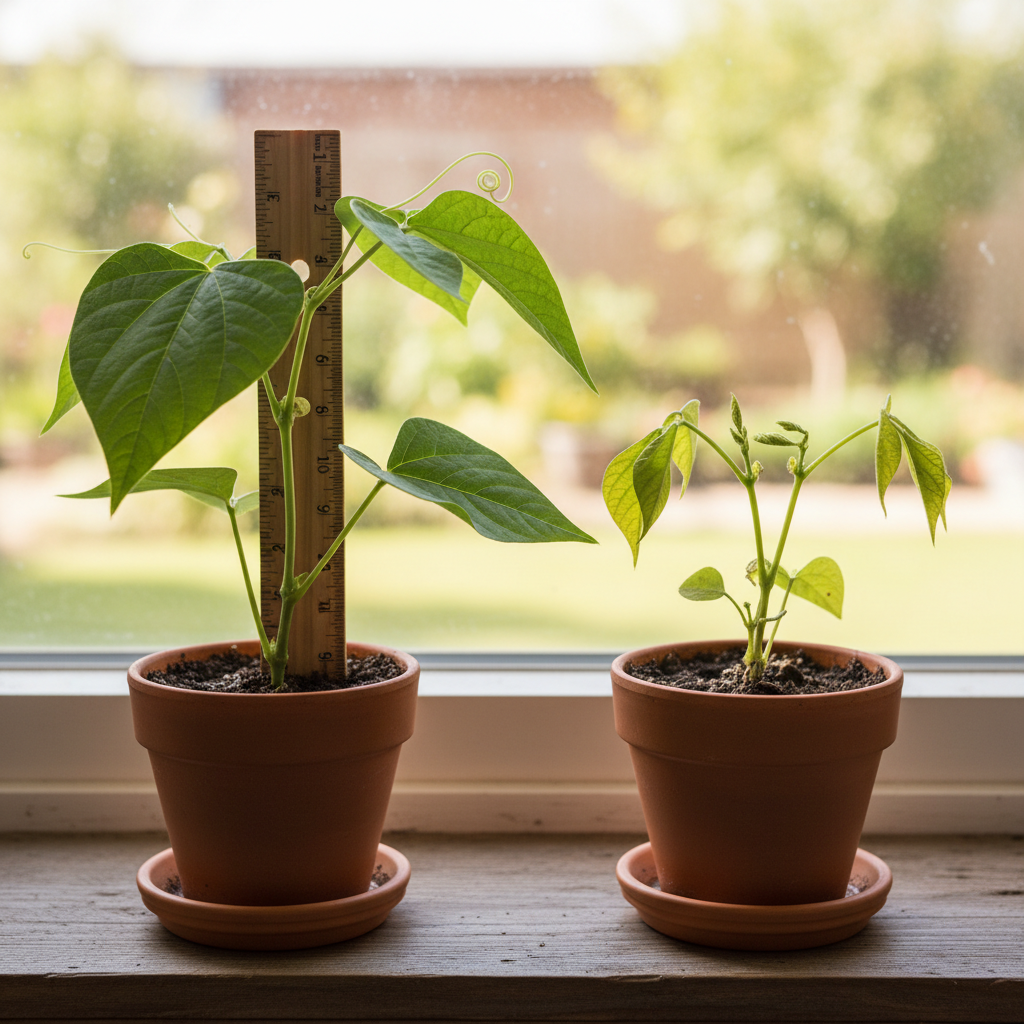
- Two identical bean plants (about the same size)
- Two identical pots
- Same type of soil for both pots
- A measuring ruler
- A small watering can
- A sunny window or spot
Our Steps (Making it a Fair Test!):
- Place both plants in the same sunny window so they get the same amount of sunlight.
- Give Plant A (our "little water" plant) a small sip of water (like 1 tablespoon) every day.
- Give Plant B (our "lots of water" plant) a big drink of water (like 1/4 cup) every day.
- Measure both plants' height from the soil line every 3 days for two weeks and write it down in a chart.
 ⚠️ This picture may have spelling mistakes. Trust the words in the lesson.
Our Observations (After Two Weeks):
We saw that Plant B grew much taller than Plant A. Plant A's leaves looked a little yellow and dry. Plant B's leaves were dark green and healthy, but we noticed some water sitting in the pot's tray a few times.
Our Conclusion:
My hypothesis was partly right! The plant that got more water did grow taller. However, we also learned that too much water might make the leaves look yellow if it just sits there, so a *just right* amount of water is best!
Remember, scientists are always curious! Every experiment, big or small, helps us learn something new about the amazing world we live in. So go ahead, be a super scientist and explore!
Keep learning, free
Create a free Syllabax account to unlock practice questions and games for this topic.
Visual Learning Enhanced! 🚀
To help you master this topic, we use Advanced Syllabax AI to generate detailed diagrams and visual models.
Note on Visuals: The AI sometimes makes spelling errors in image labels. Please refer to the lesson text for the correct terminology.