Mouse Skills: Click & Drag
Watch this topic in 60 seconds
Free preview · Lesson 1
Understanding Mouse Skills: Click & Drag
Welcome to Mouse Skills: Click & Drag Adventure!
Hello, super second graders! Today, we're going on an exciting adventure to learn about a very special tool that helps us talk to computers: the computer mouse! Think of your mouse as a friendly helper, a little guide for your computer screen. It's like having a magic finger that you can move around without actually touching the screen!
Meet Your Mouse Pal!
Look at your mouse. It has a smooth body and usually one or two buttons on top. When you move the mouse on your desk or a mouse pad, you'll see a little arrow or hand move on the computer screen. This arrow is called a cursor. It's like the mouse's little helper, pointing to things on the screen!
Let's Learn to Click!
The first super skill we'll learn is called 'Click'. What does 'click' mean? It means gently pressing the left button on your mouse one time and letting go quickly. It makes a little sound, 'click!' just like its name!
Imagine you're ringing a doorbell. You press it once and let go, right? That's what a 'click' is like! Or, think about choosing your favorite toy from a shelf – you point to it, then quickly pick it up. On the computer, clicking helps us choose things, like opening a game or picking a color to draw with.
To practice, try moving your mouse until the little arrow (cursor) is pointing to a picture or an icon on the screen. Then, gently press the left mouse button once. You just 'clicked' it! Sometimes clicking once selects an item, and clicking twice very fast (called a 'double-click') can open it.
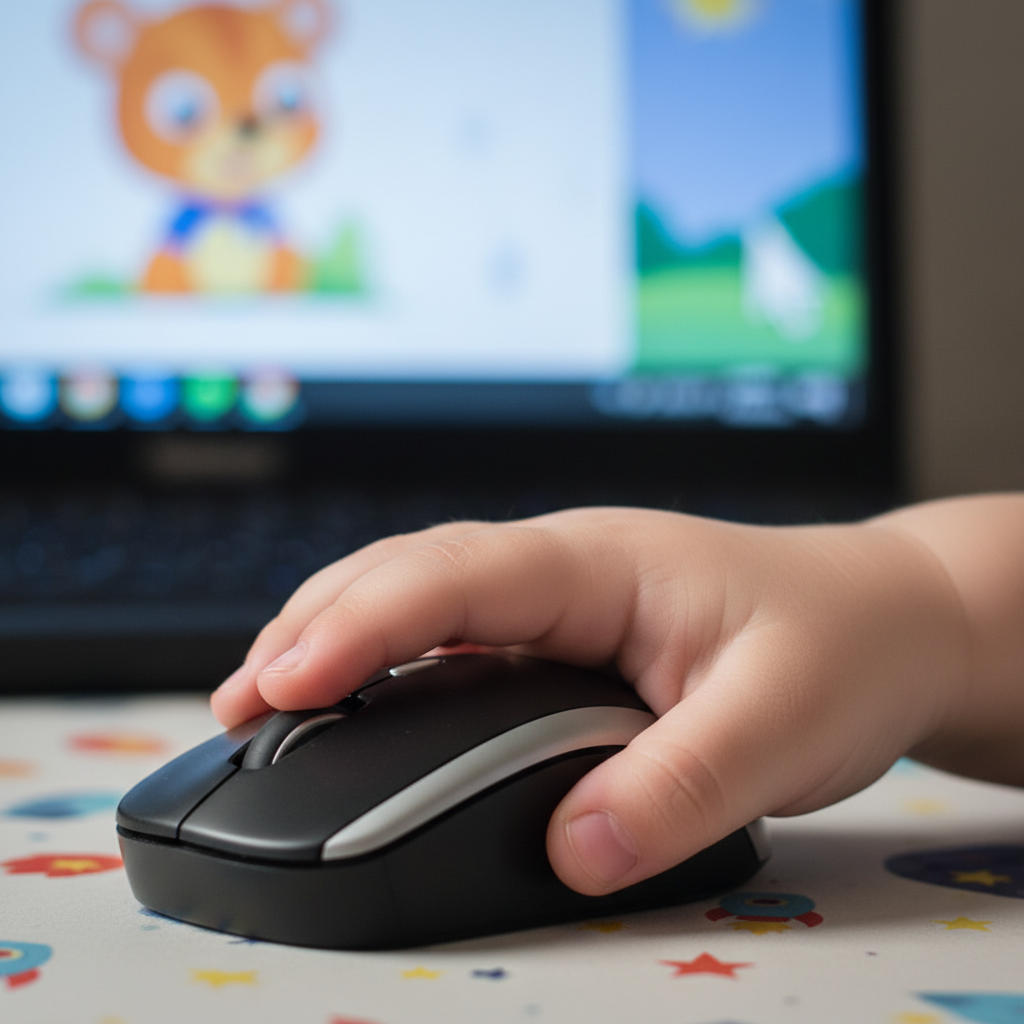 ⚠️ This picture may have spelling mistakes. Trust the words in the lesson.
Now for the Super Skill: Click and Drag!
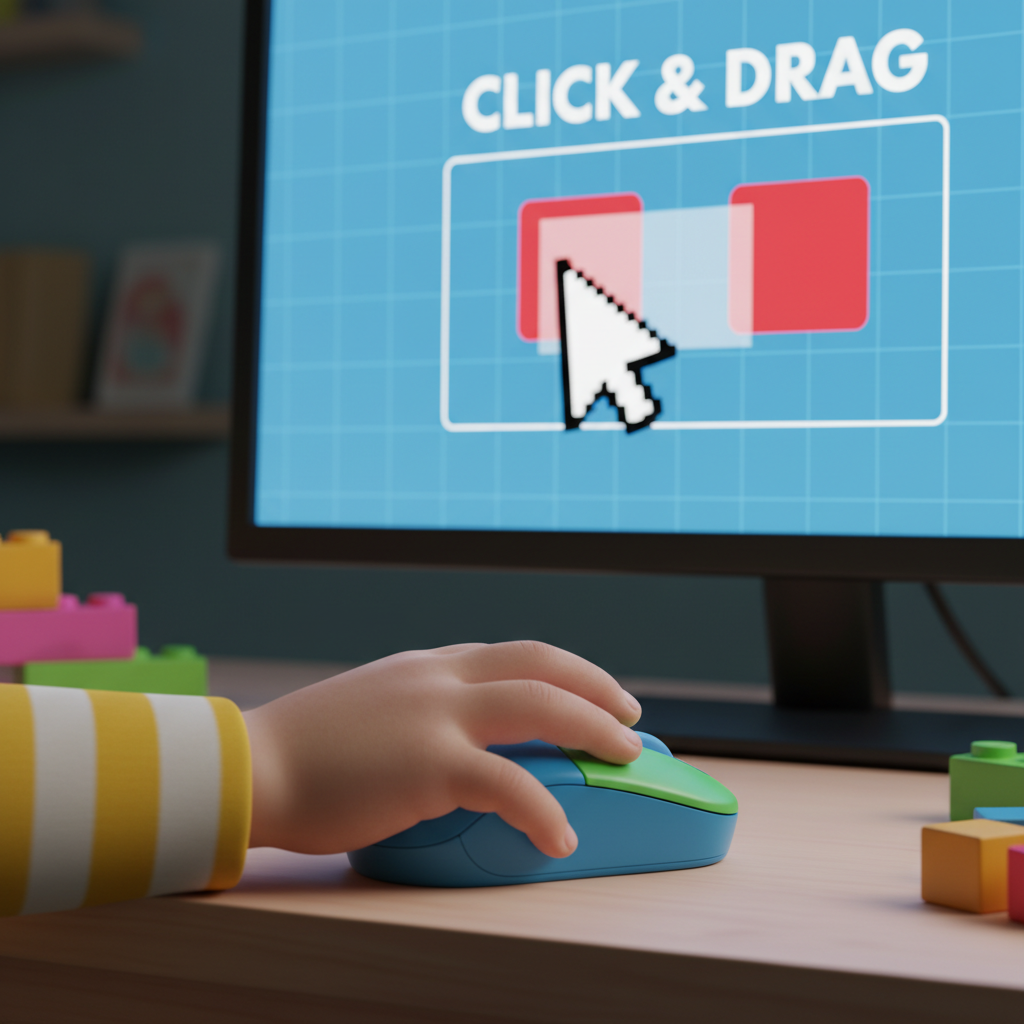
This is where the real fun begins! Our next skill is called 'Click and Drag'. This is like a two-part super move! It means you press the left mouse button, but you don't let go! You keep holding it down while you move the mouse. Then, when you've moved the item to where you want it, you finally let go of the button.
Here's how to 'Click and Drag' like a pro:
- Point: First, move your mouse until the little arrow (cursor) is right on top of the picture or item you want to move.
- Click and Hold: Gently press down the left mouse button and keep holding it! Don't let go yet! This is like grabbing hold of your toy.
- Drag: While still holding the button, slowly move your mouse across your desk. Watch the picture on the screen! It should move right along with your mouse, as if you're pulling it across the screen. This is like pulling your toy wagon to a new spot.
- Drop: When the picture or item is exactly where you want it, lift your finger off the mouse button. You've just 'dropped' it in its new spot!
Think of 'Click and Drag' like moving a building block. You grab the block (click and hold), slide it across the table to a new spot (drag), and then let go (drop). Easy peasy!
Why do we 'Click and Drag'? We use it to move pictures around on the screen, to put puzzle pieces together, to organize little drawings, or even to move windows on your computer. It's a fantastic way to tidy up your screen or create something new!
Practice Makes Perfect!
The best way to become a mouse master is to practice! Try moving different pictures or shapes around on your screen. You might even find games that use 'Click and Drag' to help you build things or solve puzzles.
Remember these tips:
- Use a gentle touch, don't press too hard on the mouse buttons.
- Move your mouse slowly at first, until you get the hang of it.
- Keep your mouse on a flat surface, like a desk or a mouse pad.
Great job, everyone! You're now on your way to becoming amazing computer helpers with your new 'Click' and 'Click and Drag' skills!
Keep learning, free
Create a free Syllabax account to unlock practice questions and games for this topic.
Visual Learning Enhanced! 🚀
To help you master this topic, we use Advanced Syllabax AI to generate detailed diagrams and visual models.
Note on Visuals: The AI sometimes makes spelling errors in image labels. Please refer to the lesson text for the correct terminology.