Attaching Files to Emails
Watch this topic in 60 seconds
Free preview · Lesson 1
Understanding Attaching Files to Emails
Sending Digital Treasures: Attaching Files to Emails!
Hey there, future digital explorers! Imagine you've drawn an amazing picture for your grandma, or you've written a fantastic story for your teacher. How would you share it if they lived far away? You could put it in an envelope and mail it, right? Well, today we're going to learn about doing something super similar, but in the digital world: attaching files to emails!
What's an Email Anyway? (It's a Digital Letter!)
Think of an email like a super-fast, magical letter that travels through the internet. Instead of paper, pen, and a stamp, you use a computer or tablet, a keyboard, and an internet connection. You can send messages to friends, family, and teachers almost instantly, no matter how far away they are!
Analogy Time! An email is like sending a postcard or a letter, but instead of walking to the mailbox, you click a button, and *poof*! It's gone to its destination in seconds.
What's a "File"? (Your Digital Stuff!)
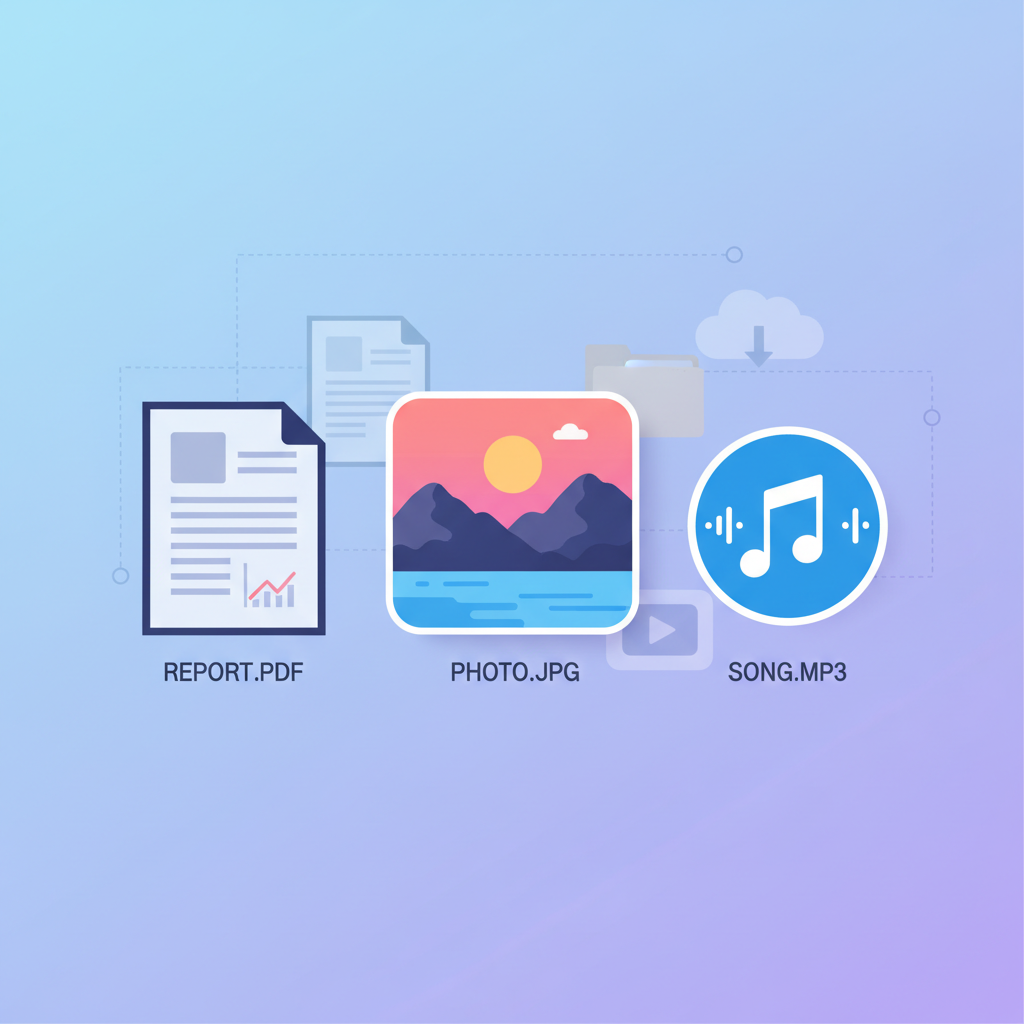
Before we attach anything, let's understand what a "file" is in the digital world. A file is just a digital item stored on your computer, tablet, or phone. It could be:
- A picture you took (like a photo of your pet!)
- A drawing you made using a paint program
- A story or report you typed (like a school assignment)
- A song you recorded
- Even a video you made!
These are all "files." Think of them as your digital creations or digital papers. Just like you have different kinds of papers in your backpack (a drawing, a math worksheet, a story), your computer has different kinds of files.
The Magic Paperclip: How to Attach a File!
Now, for the fun part: how do we send these digital treasures along with our email messages? It's like putting a photograph inside an envelope with your letter before you seal it and send it off. In the email world, we "attach" the file.
Here’s your step-by-step guide to becoming an attachment pro:
Step 1: Open Your Email Program
First, you need to open your email! This might be an app on your tablet or phone, or a website like Gmail, Outlook, or Yahoo Mail on a computer. It's like finding your special "mail station."
Step 2: Start a New Message
Look for a button that says "Compose," "New Email," or "New Message." It often looks like a plus sign (+) or a little pencil writing on paper. This is where you start writing your digital letter.
Step 3: Fill in the Blanks
Just like with a physical letter, you need to tell your email where to go!
- To: This is where you type the email address of the person you're sending it to. (Example: grandma@email.com)
- Subject: This is like the title of your letter. It tells the person what your email is about at a quick glance. (Example: My New Drawing! or Homework Assignment)
Step 4: Write Your Message
Type your message in the main body of the email. Say hello, explain what you're sending, or whatever you want to communicate! For instance, "Hi Grandma, I made this drawing for you! Hope you like it!"
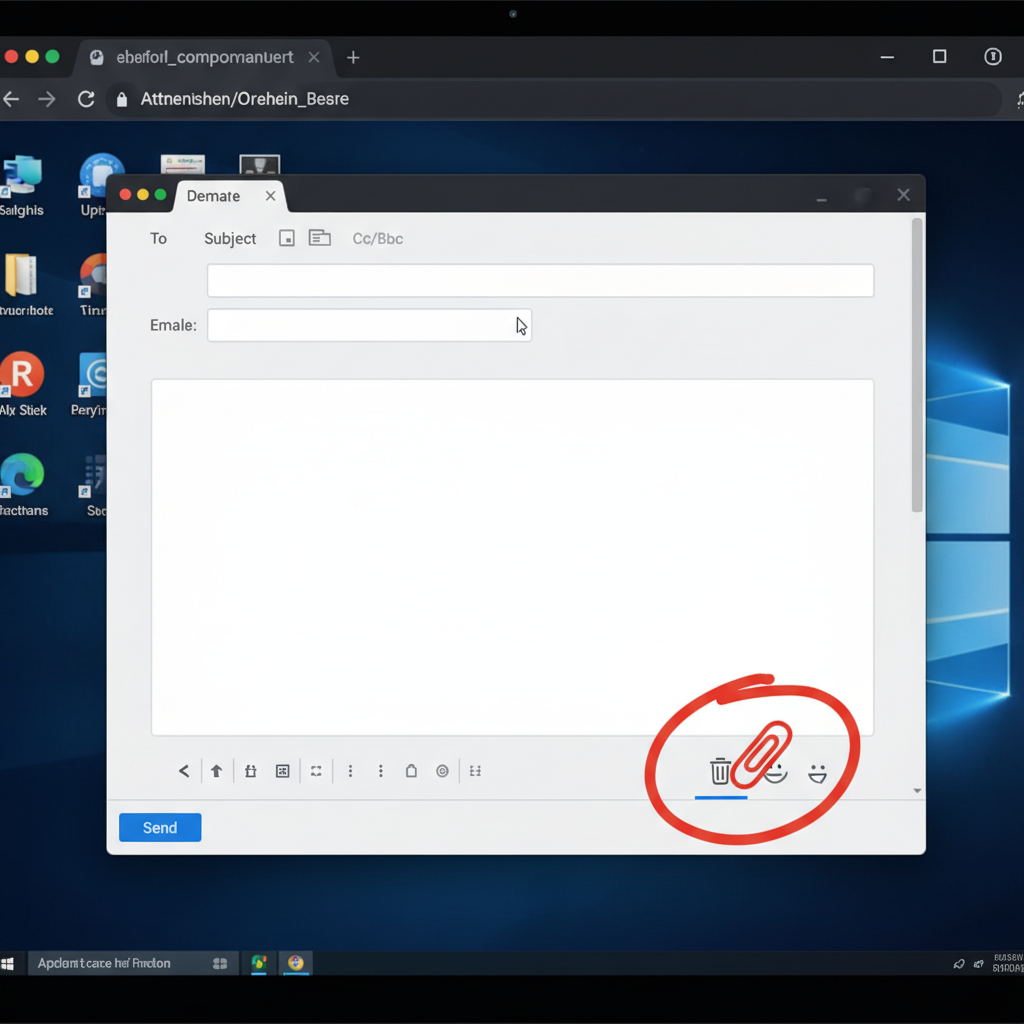
Step 5: Find the Paperclip Icon! (The Attachment Button)
This is the most important step for attaching! Look for a special button that almost always looks like a paperclip. Sometimes it might say "Attach file" or have a small picture of a folder. This paperclip is your magic tool!
Analogy Time! The paperclip icon is like the physical paperclip you'd use to clip a photo to a letter. It's telling your email program, "Hey, I want to add something extra to this message!"
 ⚠️ This picture may have spelling mistakes. Trust the words in the lesson.
Step 6: Choose Your File
When you click the paperclip, a new window will pop up. This window is like looking inside your digital backpack or locker! It shows you all the files saved on your computer or device.
- You'll need to navigate to find where your file is stored. It might be in "Documents," "Pictures," or "Downloads."
- Click on the file you want to attach to select it.
- Then, click the "Open" or "Choose" button.
Super Important! Double-check that you're picking the right file! Imagine you wanted to send your drawing, but accidentally picked your science homework instead! Always take a quick peek at the file name.
Step 7: Watch it Upload
Once you've selected your file, you'll usually see it appear as a little box or link inside your email message. Sometimes there's a progress bar that shows it's uploading. This means your computer is preparing the file to be sent with the email.
Step 8: Send Your Email!
After your file is attached and everything looks perfect (you've written your message, added the subject, and checked the recipient), click the "Send" button! It's usually a button that says "Send" or has an airplane icon. Your digital treasure, along with your message, is now flying through the internet to its destination!
Important Tips for Being an Attachment Superstar!
- Double-Check Everything: Before you hit send, quickly review: Is the email going to the right person? Is the subject clear? Is your message polite? And most importantly, is the correct file attached?
- File Size: Sometimes files can be very, very big (like a long video). Email programs have limits on how big an attachment can be, kind of like a backpack has a limit on how much it can carry. If a file is too big, your email program will usually tell you!
- Name Your Files Clearly: It's a good idea to give your files clear names. Instead of "IMG_001.jpg," name it "My_Drawing_of_a_Dragon.jpg" or "Science_Project_About_Planets.docx." This makes it easier for you to find and for the person receiving it to understand what it is!
Attaching files to emails is a fantastic skill that lets you share your digital creations and information with anyone, anywhere! Keep practicing, and you'll be a pro in no time!
Keep learning, free
Create a free Syllabax account to unlock practice questions and games for this topic.
Visual Learning Enhanced! 🚀
To help you master this topic, we use Advanced Syllabax AI to generate detailed diagrams and visual models.
Note on Visuals: The AI sometimes makes spelling errors in image labels. Please refer to the lesson text for the correct terminology.