Paper Folding & Cutting – Non – Verbal Reasoning (Diagrammatic)
Watch this topic in 60 seconds
Free preview · Lesson 1
Paper Folding & Cutting – Non – Verbal Reasoning (Diagrammatic) (Foundational)
Hello, Future Pattern Detectives!
Welcome to our exciting journey into Paper Folding & Cutting – Non-Verbal Reasoning (Diagrammatic)! This sounds like a mouthful, but don't worry, it's actually a super fun way to train your brain to see patterns and imagine things in your mind. Think of it like a puzzle where you have to predict what a piece of paper will look like after it's been folded, cut, and then unfolded.
What is Non-Verbal Reasoning?
Let's break down the big words:
- Non-Verbal: This simply means 'without words.' Instead of reading or writing, you'll be looking at pictures and diagrams to solve problems.
- Reasoning: This means using your brain to think logically and figure things out.
- Diagrammatic: This just means 'using diagrams' or pictures.
So, in simple terms, you'll be solving puzzles by looking at pictures of folded and cut paper and figuring out what happens when it's opened up!
The Big Idea: Folding, Cutting, Unfolding!
Imagine you have a piece of paper. You fold it once, maybe twice, following specific steps. Then, you make a small cut with scissors on the folded paper. What happens when you completely unfold it? Will there be one hole? Two holes? A special pattern? That's what we're going to learn to figure out!
The Steps to Becoming a Paper Folding Pro:
There are usually three main steps shown in these puzzles:
- The Folding Stage: You'll see diagrams showing how a piece of paper is folded, step by step. Look closely at the arrows! They tell you which way the paper is being folded. Each arrow represents a fold.
- The Cutting Stage: After all the folds, a small shape (like a circle, triangle, or square) is cut out of the folded paper. This is usually shown as a dark, solid shape on the last folded piece.
- The Unfolding Challenge: This is where you use your brain power! You have to imagine what the paper will look like when it's completely unfolded. You'll usually be given a few options to choose from.
Let's look at a simple example to get started!
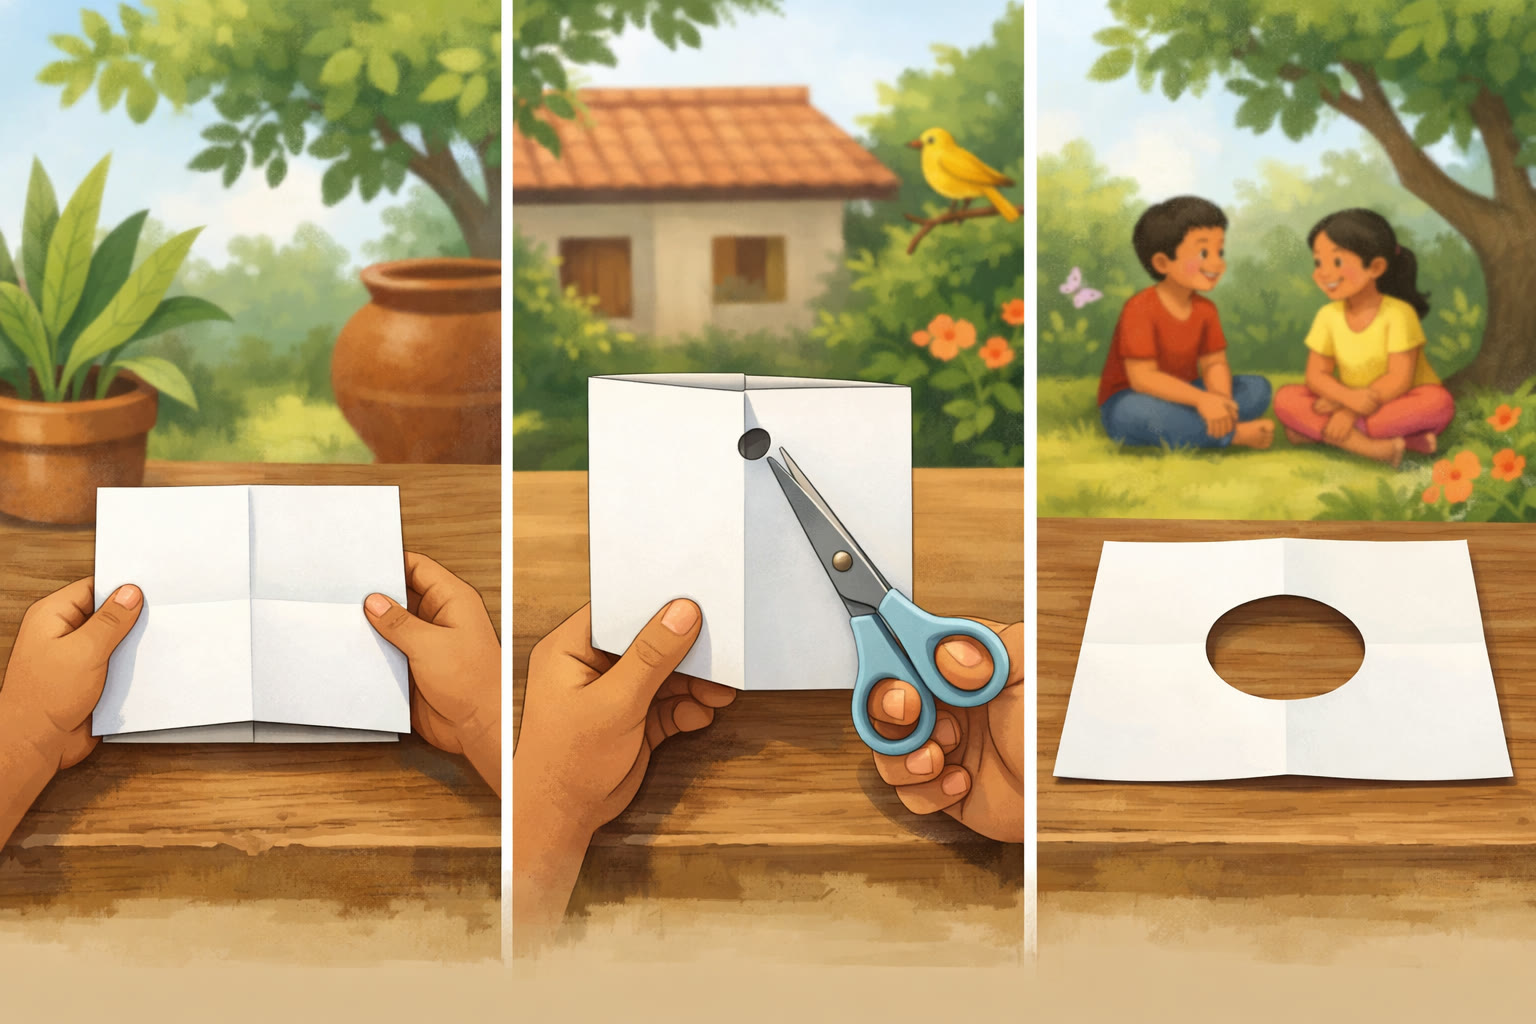
In this example, a square paper is folded in half. A small cut is made along the folded edge. When unfolded, the cut appears on both sides of the fold, creating a single, complete shape in the middle.
The Magic of Symmetry!
One of the most important ideas in paper folding and cutting is Symmetry.
- Symmetry: This means that one half of something is a perfect mirror image of the other half. Think of a butterfly – its left wing is a perfect mirror image of its right wing!
- When you cut a folded piece of paper, the cut will often create a symmetrical pattern when unfolded because each fold acts like a "mirror line."
Think about it: If you fold a paper in half and cut a half-circle along the folded edge, when you open it, you get a full circle! The fold line was the line of symmetry, reflecting your half-circle.
Tips and Tricks for Success:
- Go Backwards: To unfold the paper in your mind, always do it in the reverse order of how it was folded. If it was folded right-to-left, then top-to-bottom, you'll unfold it bottom-to-top, then left-to-right.
- Mirror, Mirror: Every time you mentally unfold a section, imagine a mirror. The cut you made will be reflected across the fold line you are opening up.
- Count the Folds: More folds mean more layers of paper. This usually leads to more reflections and more repetitions of the cut shape when the paper is fully unfolded.
- Practice, Practice, Practice: The more you try, the better your brain will get at visualizing these patterns! Don't be afraid to try it with real paper at home!
Let's try to visualize a slightly more complex folding pattern:
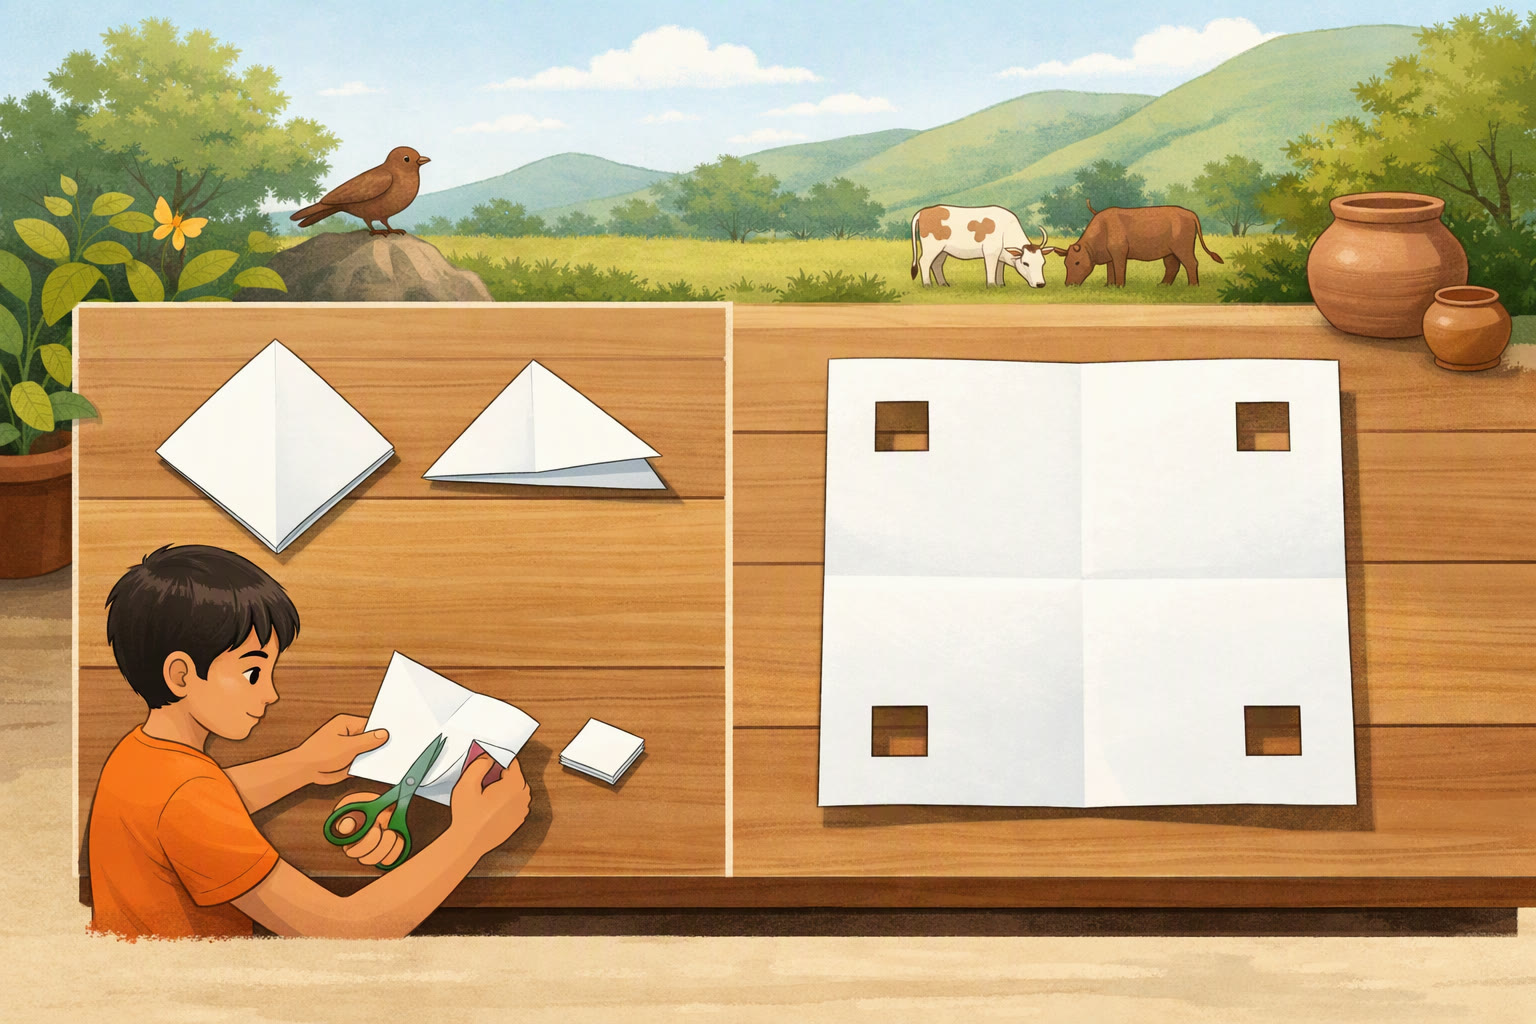
Here, the paper is folded twice, creating four layers. A cut from a corner of the final folded shape will be reflected across both fold lines, resulting in four identical cuts in the final unfolded pattern.
You've got this! Keep practicing and your brain will become a master at spotting these awesome patterns!
Keep learning, free
Create a free Syllabax account to unlock practice questions and games for this topic.
Visual Learning Enhanced! 🚀
To help you master this topic, we use Advanced Syllabax AI to generate detailed diagrams and visual models.
Note on Visuals: The AI sometimes makes spelling errors in image labels. Please refer to the lesson text for the correct terminology.