Digital Art: Drawing Tools & Graphics
Watch this topic in 60 seconds
Free preview · Lesson 1
Understanding Digital Art: Drawing Tools & Graphics
Welcome to the World of Digital Art: Drawing Tools & Graphics!
Imagine you have a magical art kit. Instead of paper and crayons, you have a computer or a tablet, and instead of physical brushes, you have super-smart digital tools! That's what digital art is all about. It's like drawing with special crayons on a magic screen where you can make amazing pictures without ever getting messy hands!
From Paper to Pixels: Traditional vs. Digital Drawing
Think about drawing with a pencil on a piece of paper. If you make a mistake, you might use an eraser, or sometimes you have to crumple the paper and start over. With digital art, it's very different!
- Traditional Art: You use real pencils, paints, and paper. Your tools are physical. If you want to change something, it can be hard to erase perfectly or fix paint.
- Digital Art: You use a computer, tablet, or smartphone, and a special pen (often called a stylus) or your finger. All your "tools" are inside the computer program. This means you can make changes super easily! It's like having an endless supply of paper and every type of art supply you could ever dream of, all in one place.
Think of it this way: A physical pencil is like a single tool you hold. A digital pencil is like a magic wand that can change into any pencil, brush, or marker you want, just by clicking a button!
Your Digital Art Studio: Drawing Programs and Their Tools
To make digital art, you need a special computer program, often called a "drawing program" or "painting software." This program is your entire art studio, all packed neatly inside your device. Let's look at the cool tools you'll find there:
1. The Canvas: Your Digital Piece of Paper
When you open a drawing program, the first thing you see is a blank area. This is your canvas. Just like a real artist starts with a blank piece of paper or a stretched canvas, you start with a digital canvas. You can pick its size – big or small – and even its color!
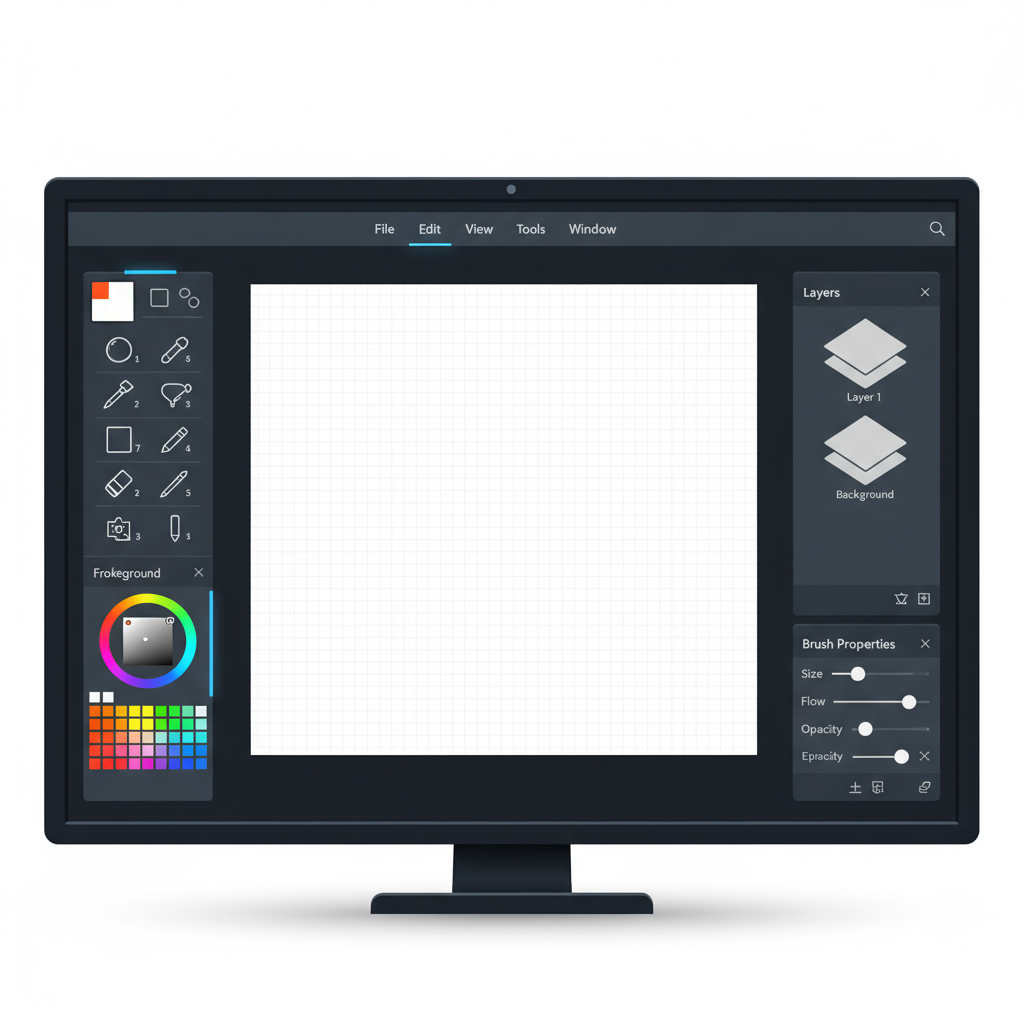 ⚠️ This picture may have spelling mistakes. Trust the words in the lesson.
2. Brushes: Your Super-Powered Pencils, Pens, and Paints
The "brush" tool in digital art is amazing! It's not just one brush; it's thousands of brushes! You can choose brushes that look like:
- A fine pencil for tiny details.
- A thick marker for bold lines.
- A watercolor brush for soft, blended colors.
- A textured brush that looks like a sponge or a messy splatter.
It's like having an entire art store's worth of drawing tools available instantly. Many digital brushes are also pressure-sensitive. This means if you press harder with your stylus, the line might become thicker or darker, just like a real pencil!
3. Colors: An Endless Rainbow at Your Fingertips
Instead of a small box of crayons, digital art gives you access to millions of colors! You can pick any color you can imagine, lighten it, darken it, or even make your own custom colors. It's like having a gigantic bucket of paint with every single shade possible!
4. The Eraser: The Ultimate "Oops" Tool
The digital eraser is much better than a real one! If you draw something you don't like, you just click the eraser tool and rub it out. Poof! It's gone. No smudges, no torn paper. You can even choose different sizes and strengths for your eraser, making it gentle for small fixes or strong for big mistakes.
5. Undo and Redo: Your Time Machine for Art!
This is one of the coolest features! The Undo button is like a magic time machine for your art. If you make a line you don't like, click "Undo," and it instantly disappears, taking you back one step. Click it again, and it goes back another step! The Redo button brings back what you just "undid" if you change your mind. It's like having an invisible helper who can rewind and fast-forward your drawing process!
6. Layers: Stacking Clear Sheets for Easy Organization
This is a super important concept in digital art! Imagine you have several clear plastic sheets. You draw the background on the first sheet, then a character on the second clear sheet, and maybe some clouds on a third clear sheet. When you stack them all together, they look like one complete picture!
That's what layers are in digital art. Each layer is like a transparent sheet where you can draw or paint different parts of your artwork. For example:
- Layer 1: The sky and ground.
- Layer 2: A big tree.
- Layer 3: A friendly dog.
- Layer 4: Some birds flying.
Why are layers so great? Because you can change something on one layer without messing up the other layers! If you want to move the dog, you just select the "dog layer" and move only the dog. The tree and sky stay exactly where they are. It's like building your artwork piece by piece, and being able to easily rearrange or edit any piece without touching the others.
Understanding Digital Graphics: Pixels vs. Vectors
Now that you know about the tools, let's talk about the two main ways digital pictures (called graphics) are made on a computer:
1. Raster Graphics (Pixel Art): Pictures Made of Tiny Squares
Imagine building a picture out of tiny LEGO bricks. Each LEGO brick has its own color. When you put thousands of these tiny bricks together, they form a detailed picture, like a photograph.
Raster graphics (also called bitmap graphics) are like that. They are made of millions of tiny colored squares called pixels. Every picture you take with a digital camera or see in a detailed painting program is usually a raster graphic.
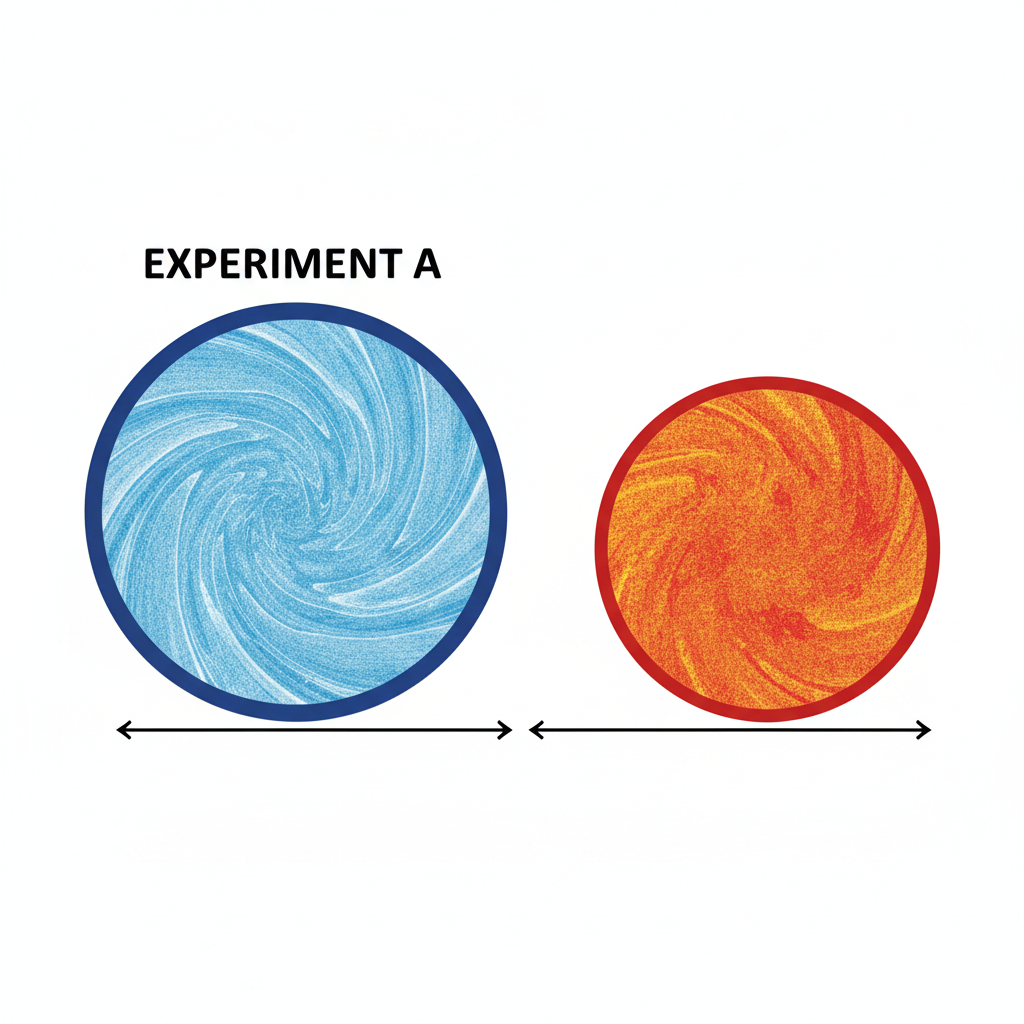
The "Zoom-In" Test: If you zoom in very, very close on a raster graphic, you'll eventually see the individual squares, the pixels. It might look a little blurry or "blocky" up close, just like you can see the individual LEGOs if you get close to a LEGO mosaic.
2. Vector Graphics: Smooth Shapes and Lines
Now, imagine drawing a picture using stretchy rubber bands and geometric shapes (like circles, squares, and triangles) that can be resized perfectly. No matter how much you stretch or shrink them, the lines always stay perfectly smooth and clear.
Vector graphics are made differently. Instead of pixels, they use mathematical formulas to describe lines, curves, and shapes. Because they are based on math, they can be made bigger or smaller without ever losing their sharpness or looking blurry.
The "Zoom-In" Test: If you zoom in very, very close on a vector graphic, the lines and shapes will *always* stay smooth and crisp. They never get blocky! This is why logos (like the swoosh on a sports shoe or the symbol for your favorite restaurant) are usually made with vector graphics, because they need to look good whether they're tiny on a business card or huge on a billboard.
Saving and Sharing Your Digital Masterpiece
Once you've finished your digital artwork, you'll want to save it! When you save, your computer stores your artwork as a file. There are different types of files, like JPEG (great for photos) or PNG (good if you want parts of your picture to be transparent).
Saving your work is like putting your drawing safely into a special folder so you can look at it later or share it with friends and family online. You can easily print your digital art or display it on screens all over the world!
Conclusion: The Magic of Digital Art
Digital art opens up a whole new world of creativity. With tools like the digital canvas, endless brushes, super useful layers, and the magic "undo" button, you can explore your imagination without fear of mistakes. Understanding the difference between pixel-based raster graphics and smooth vector graphics helps you know how digital pictures are built. So grab your digital tools and start creating your own masterpieces!
Keep learning, free
Create a free Syllabax account to unlock practice questions and games for this topic.
Visual Learning Enhanced! 🚀
To help you master this topic, we use Advanced Syllabax AI to generate detailed diagrams and visual models.
Note on Visuals: The AI sometimes makes spelling errors in image labels. Please refer to the lesson text for the correct terminology.