Angle bisectors (Construction Basics)
Watch this topic in 60 seconds
Free preview · Lesson 1
Understanding Angle bisectors (Construction Basics)
Understanding Angle Bisectors: Cutting Angles Perfectly in Half!
Hello, future geometry whizzes! Have you ever had to share something perfectly equally with a friend? Maybe a delicious slice of pizza, or drawing a boundary line in a game? Well, in geometry, we have a super neat tool for dividing angles exactly in half, and it's called an angle bisector.
What Exactly is an Angle? A Quick Refresh!
Before we dive into cutting angles, let's quickly remember what an angle is. Imagine two rays (which are like lines that start at one point and go on forever in one direction) that share a common starting point. This common point is called the vertex, and the space between the two rays is the angle.
- Think of a clock: The two hands form an angle at the center (the vertex).
- Think of a book opening: The spine is the vertex, and the covers form an angle.
Meet the Angle Bisector: The Perfect Divider!
Now, what if you wanted to draw a new ray that goes right through the middle of that angle, dividing it into two identical, smaller angles? That's exactly what an angle bisector does! It's a ray that starts at the vertex of an angle and divides the angle into two equal, smaller angles.
Analogy 1: The Pizza Cutter! Imagine you have a big slice of pizza (that's your angle). An angle bisector is like making a perfect cut right down the middle, so you end up with two smaller, perfectly equal pizza slices. No fighting over who got the bigger piece!
Analogy 2: The Referee's Line! In some sports, a referee might need to draw a line that perfectly divides a certain area or an angle formed by two existing lines. That line would be an angle bisector, ensuring fairness and equal division.
Why are Angle Bisectors Important?
You might be thinking, "Why do I need to know how to cut an angle in half?" Well, angle bisectors are super useful in many areas:
- Symmetry: They help us understand and create symmetrical shapes.
- Design and Art: Artists and designers use them to create balanced and harmonious patterns.
- Engineering: Engineers use them when designing structures or objects that need precise angles.
- Problem Solving: In higher-level geometry, angle bisectors have special properties that help solve complex problems.
Tools of the Trade: What You'll Need
To construct an angle bisector, you don't need fancy computers! You just need a couple of classic geometry tools:
- Compass: This is the tool with two legs, one with a pointy end and one with a pencil. It's used for drawing circles and arcs. Think of it as your "measuring and drawing curves" friend.
- Straightedge (or a Ruler): This is simply a tool with a straight edge. We use it to draw straight lines. Important Note: When we say 'straightedge' in geometry construction, we only use it for drawing straight lines, not for measuring specific lengths.
- Pencil: To draw your lines and arcs!
Let's Get Constructing! Step-by-Step Guide to Bisect an Angle
Ready to try it yourself? Follow these simple steps. Don't worry if it's not perfect the first time; practice makes perfect!
Step 1: Draw Your Angle
First, we need an angle to bisect! Using your straightedge, draw an angle. Let's call the vertex (the point where the two rays meet) point 'A'. Label the two rays 'AB' and 'AC'.
(Imagine you've drawn an angle that looks like a wide 'V' shape, with 'A' at the bottom point.)
Step 2: Set Your Compass at the Vertex
Place the pointy end of your compass on the vertex of the angle (point 'A'). Open your compass to any convenient width – not too wide, not too narrow. This width will stay the same for a bit.
Step 3: Draw the First Arc
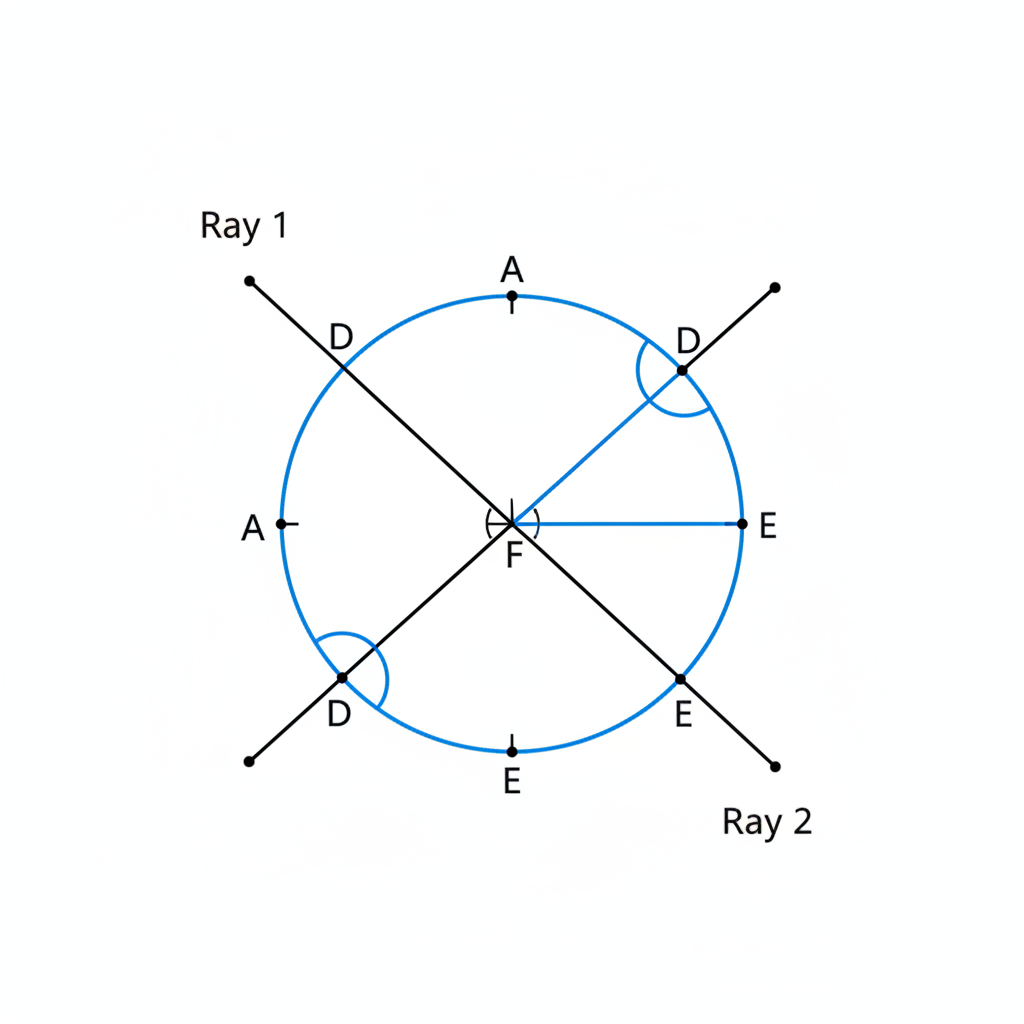
With the compass point still at 'A', draw an arc that crosses both rays of the angle (ray AB and ray AC). This arc will create two new points where it intersects the rays. Let's call these points 'D' (on ray AB) and 'E' (on ray AC).
Analogy: Marking your territory! You're marking off equal distances from the vertex along both "arms" of your angle.
Step 4: From the Intersection Points, Draw Two More Arcs
Now, keeping your compass open to the same width (or you can adjust it to a new, convenient width, but ensure it's the same for both subsequent arcs!), move the compass point to point 'D' (where your first arc crossed ray AB). Draw another arc inside the angle.
Without changing the compass width, move the compass point to point 'E' (where your first arc crossed ray AC). Draw a second arc inside the angle. This arc should intersect the first arc you just drew. Let's call the point where these two arcs intersect 'F'.
Analogy: Finding the "middle ground"! You're finding a point that is equally far from both point D and point E, which helps pinpoint the exact middle of the angle.
Step 5: Draw the Bisector Ray
Finally, using your straightedge, draw a straight line (a ray) starting from the vertex 'A' and going through the intersection point 'F' (the point where the two arcs from Step 4 crossed). Extend this ray outwards.
This new ray, AF, is your angle bisector! It has perfectly divided your original angle BAC into two equal angles: angle BAF and angle CAF.
Checking Your Work
How can you tell if your bisector is accurate? If you have a protractor (a tool for measuring angles), you can measure the original angle BAC, and then measure angle BAF and angle CAF. If angle BAF is exactly half of angle BAC, and angle CAF is also exactly half of angle BAC, then you've done a fantastic job!
Congratulations! You've successfully constructed an angle bisector. This fundamental skill is a building block for many exciting geometric constructions!
Keep learning, free
Create a free Syllabax account to unlock practice questions and games for this topic.
Visual Learning Enhanced! 🚀
To help you master this topic, we use Advanced Syllabax AI to generate detailed diagrams and visual models.
Note on Visuals: The AI sometimes makes spelling errors in image labels. Please refer to the lesson text for the correct terminology.