Recording Experiment Outcomes
Watch this topic in 60 seconds
Free preview · Lesson 1
Understanding Recording Experiment Outcomes
Let's Be Super Scientists: Recording Experiment Outcomes!
Hey there, future scientists! Have you ever built a super cool LEGO tower, baked cookies with a grown-up, or watched a tiny seed sprout into a plant? When you do these things, you're actually doing something a lot like a science experiment! You try something, and then you see what happens. In science, what happens is called an outcome or a result.
Imagine you're baking a cake. You follow a recipe (that's like your experiment plan!). You mix ingredients, put it in the oven, and wait. What's the outcome? Maybe it's a yummy, fluffy cake! Or maybe, just maybe, it's a little flat. Both are outcomes! A scientist doesn't just eat the cake and forget about it. A scientist writes down what happened!
Why Do We Need to Record? (It's Super Important!)
Think about a treasure hunt. If you find a treasure, you don't just grab it and run off, right? You might want to remember where you found it, what it looked like, and how you felt! Recording in science is just like that – it helps us remember everything about our treasure (our experiment results!).
-
So We Don't Forget!
Our brains are amazing, but they can't remember every tiny detail of every experiment, especially if we do many! Writing things down is like giving your brain a helpful little helper, so you don't forget important clues.
-
So We Can Tell Others!
Imagine you discovered a way to make the bounciest bouncy ball ever! Wouldn't you want to tell your friends? If you wrote down exactly what you did and what happened, you could share your awesome discovery. Other scientists can learn from your work!
-
So We Can Do It Again (or Make It Better)!
What if your bouncy ball wasn't bouncy enough? If you recorded everything, you could look back at your notes, change one tiny thing (like adding a little more glue), and try again. Your records help you improve your experiments next time.
-
So We Can Compare!
What if you try making two bouncy balls – one with blue glue and one with red glue? By recording the bounce height for both, you can compare and see which glue made a bouncier ball! Recording helps us see differences clearly.
How Do We Record Our Outcomes? (Our Scientist Tools!)
Scientists use many tools to record their findings, just like artists use paintbrushes and musicians use instruments! Here are some common ways:
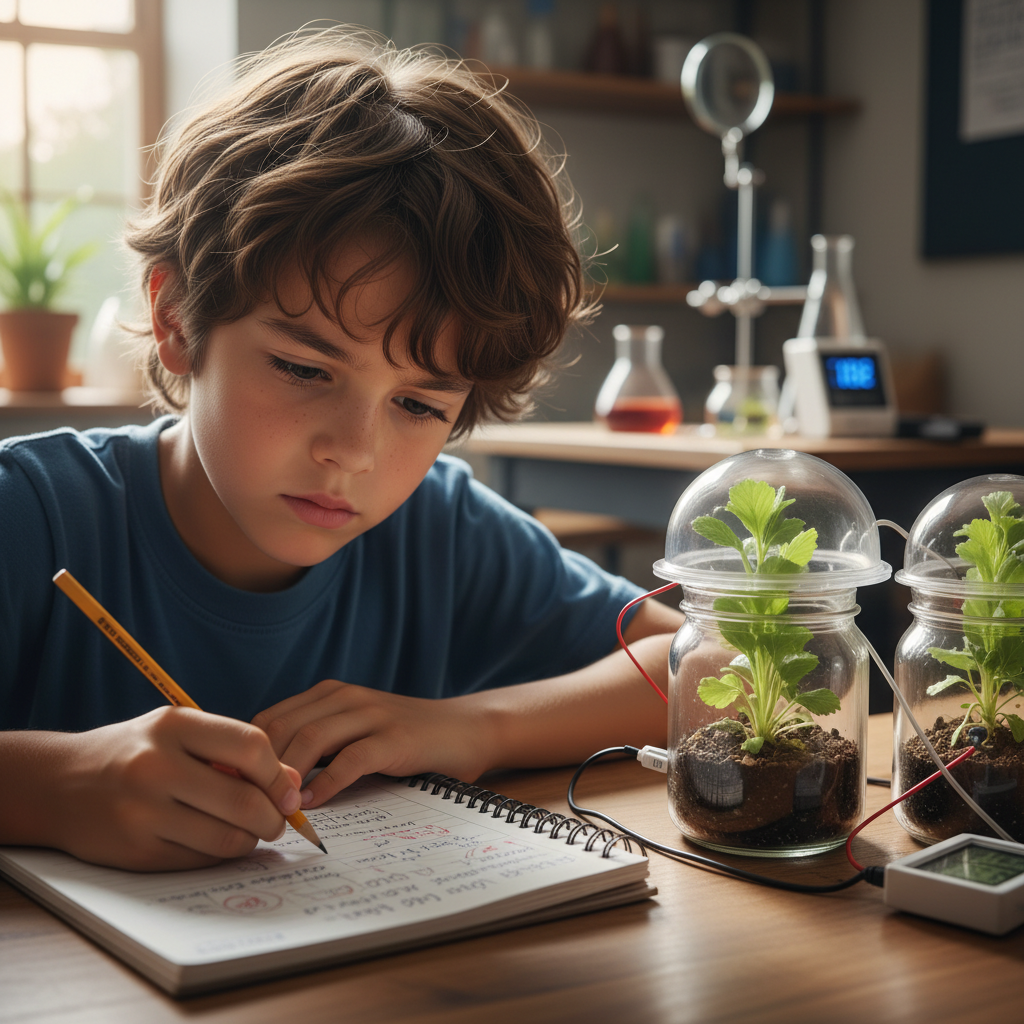
1. Write It Down! (Our Super Scientist Notebooks)
This is the most common way! You can use a notebook, a piece of paper, or even a special science journal. What do you write down?
- What you did: List the steps you followed. (Example: "First, I mixed water and dirt. Then I planted the seed.")
- What you saw, heard, smelled, or felt: These are called observations. You use your senses! (Example: "The plant grew 1 cm taller. It has two new leaves. The dirt smells earthy.")
- Measurements: If you measure things like height, weight, or time, write them down! (Example: "Day 1: Plant height = 0.5 cm. Day 7: Plant height = 3 cm.")
- Dates and Times: Always write the date and time you did your experiment and recorded your outcome. It helps keep things in order. (Example: "October 26, 2023, 10:00 AM.")
Analogy: Think of it like keeping a diary. You write down what happened to you each day, how you felt, and what you saw. Your science notebook is a diary for your experiments!
 ⚠️ This picture may have spelling mistakes. Trust the words in the lesson.
2. Draw Pictures! (Our Visual Diaries)
Sometimes, a picture is worth a thousand words! Drawing what you see can be very helpful. If you're growing a plant, you could draw how it looks each week. If you mix two liquids, you could draw the color change or bubbles you see. Remember to label your drawings so everyone knows what they are!
Analogy: When you draw a map to your friend's house, you don't just write words; you draw streets and landmarks to make it easier to understand. Drawings help explain your experiment's outcome!
3. Use Charts and Tables! (Our Organized Boxes)
When you have lots of information, like how tall a plant grew every single day for a month, charts and tables are fantastic! A table is like a grid with rows and columns, where you can put numbers and words in a very neat way. For example:
| Day | Plant Height (cm) | Observations |
|---|---|---|
| Day 1 | 0.5 | Just a tiny sprout! |
| Day 3 | 1.2 | Two small leaves. |
| Day 7 | 3.0 | Getting taller, very green. |
This makes it super easy to compare the plant's height on different days!
4. Take Photos! (Our Camera Memories)
If you have a camera (with a grown-up's help!), taking pictures can be a wonderful way to record your experiment outcomes. A photo captures exactly what something looked like at a certain moment in time. Just like you take pictures of your birthday party to remember it, you can take pictures of your experiment results!
Analogy: If you build an amazing LEGO castle, you might take a picture of it to show everyone, right? A picture of your experiment outcome does the same thing!
Tips for Being a Top-Notch Recorder:
- Be Neat: Write clearly so you (and others!) can read your notes later.
- Be Specific: Instead of "the plant grew big," say "the plant grew from 5 cm to 10 cm and developed three new leaves."
- Be Honest: Sometimes experiments don't work out the way we expect. That's okay! Always write down exactly what happened, even if it's not what you hoped for. Scientists learn from everything!
- Always Write It Down Right Away: Don't wait! Your memory is best right after you see something happen.
Recording experiment outcomes is a fundamental skill for any scientist. It helps us understand the world better, share our discoveries, and keep learning! So grab your notebook and your pencil, because you're ready to become a fantastic scientific recorder!
Keep learning, free
Create a free Syllabax account to unlock practice questions and games for this topic.
Visual Learning Enhanced! 🚀
To help you master this topic, we use Advanced Syllabax AI to generate detailed diagrams and visual models.
Note on Visuals: The AI sometimes makes spelling errors in image labels. Please refer to the lesson text for the correct terminology.