Construction of simple geometrical figures (Construction Basics)
Watch this topic in 60 seconds
Free preview · Lesson 1
Understanding Construction of simple geometrical figures (Construction Basics)
Building with Geometry: Construction Basics (Grade 7)
Welcome to the World of Geometric Construction!
Imagine you want to build a perfect, symmetrical treehouse. You wouldn't just guess where to put the walls, right? You'd use tools like measuring tapes and levels to make sure everything is straight, even, and strong. In geometry, when we talk about construction, it's very similar! We're learning how to draw precise shapes and figures using only a few special tools, without relying on measuring numbers from a ruler or the angle markings on a protractor.
Our goal today is to understand these basic tools and learn how to make some fundamental geometric building blocks.
Your Geometric Toolkit: The Essentials
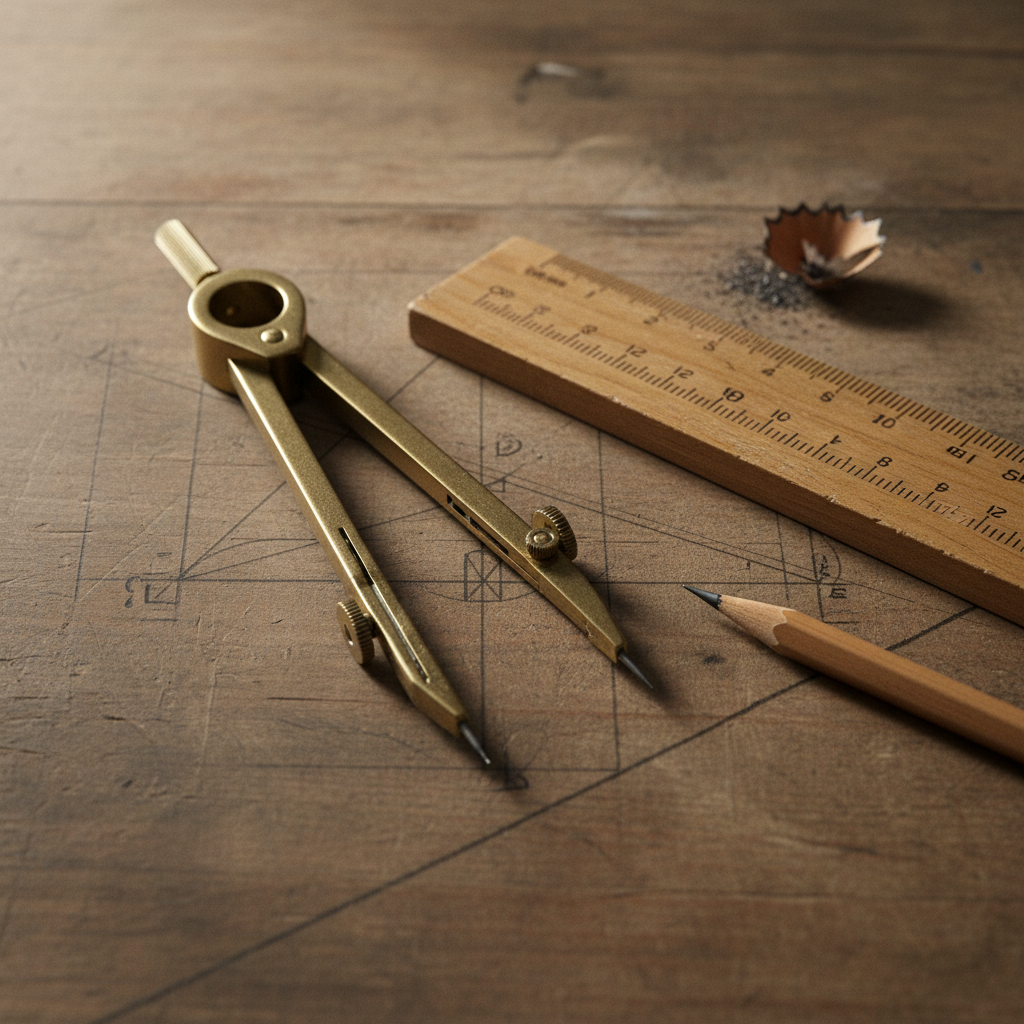
When we talk about traditional geometric constructions, we limit ourselves to just two main tools. This might sound restrictive, but it's amazing what you can create with them!
1. The Straightedge (often a Ruler without numbers)
- What it is: A simple tool with a perfectly straight edge. While you might use a ruler, for constructions, we pretend the numbers aren't there! We only care about its straightness.
- What it does: It helps you draw perfectly straight lines, line segments, or rays between two points. It's like a guide.
- What it doesn't do: It does not measure lengths. You can't use it to say, "This line is 5 cm long." For that, we use our other tool!
2. The Compass
- What it is: A tool with two arms, one with a sharp point (the pivot) and the other with a pencil lead. You can adjust the distance between the point and the pencil.
- What it does:
- It draws perfect circles or parts of circles called arcs.
- It allows you to transfer distances. You can 'pick up' a length from one part of your drawing and 'put it down' exactly the same way somewhere else.
3. The Pencil
- Of course, you need a sharp pencil to make clear, accurate marks!
The Basic Building Blocks: Points, Lines, and Angles
Before we start building, let's review the fundamental elements we'll be working with:
- Point: A location in space, usually represented by a dot. It has no size.
- Line Segment: A straight path between two points. It has a definite start and a definite end.
- Ray: A straight path that starts at one point and goes on forever in one direction.
- Line: A straight path that goes on forever in both directions. It has no start and no end.
- Angle: Formed when two rays or line segments meet at a common point called the vertex. The 'opening' between them is the angle.
 ⚠️ This picture may have spelling mistakes. Trust the words in the lesson.
Your First Builds: Fundamental Constructions
Now that you know your tools and your building blocks, let's try some actual constructions. These are like the foundational moves in geometry!
1. Constructing the Perpendicular Bisector of a Line Segment
Imagine you have a line segment (like a piece of string) and you want to find its exact middle and also draw a line that cuts across it perfectly straight, forming a 90-degree angle. This is what a perpendicular bisector does! 'Perpendicular' means forming a right angle (90 degrees), and 'bisector' means cutting something into two equal halves.
Steps:
- Start with a line segment: Draw a line segment and label its endpoints, say A and B.
- Open your compass: Place the sharp point of your compass on point A. Open the compass so that the pencil tip is more than halfway past the midpoint of the segment (but not so wide it goes off the page!).
- Draw an arc from A: With this compass opening, draw a large arc that goes both above and below the line segment AB.
- Repeat from B: Without changing the compass opening, place the sharp point of your compass on point B. Draw another large arc that intersects (crosses) the first arc at two points.
- Mark intersection points: Label the two points where the arcs intersect, say X and Y.
- Draw the bisector: Use your straightedge to draw a straight line connecting point X and point Y.
Congratulations! The line XY is the perpendicular bisector of segment AB. It cuts AB into two equal pieces, and it crosses AB at a perfect 90-degree angle.
2. Constructing the Angle Bisector
What if you have an angle (like a slice of pizza) and you want to cut it exactly in half, so you have two smaller, identical angles? That's what an angle bisector does! It's a ray that divides an angle into two equal parts.
Steps:
- Start with an angle: Draw an angle, say ∠ABC, with the vertex at B.
- Draw an arc from the vertex: Place the sharp point of your compass on the vertex (point B). Draw an arc that crosses both rays of the angle (BA and BC). Label the points where the arc crosses the rays, say D and E.
- Draw intersecting arcs from D and E: Now, place the sharp point of your compass on point D. Open your compass to a comfortable width (it can be the same width as before, or different, but keep it consistent for the next step). Draw an arc in the interior (inside) of the angle.
- Repeat from E: Without changing the compass opening, place the sharp point of your compass on point E. Draw another arc that intersects the arc you just drew in the interior of the angle.
- Mark the intersection point: Label the point where these two arcs intersect, say F.
- Draw the bisector: Use your straightedge to draw a straight ray from the vertex B through point F.
Fantastic! The ray BF is the angle bisector of ∠ABC. It has split the angle into two exactly equal smaller angles (∠ABF and ∠FBC).
Why Do We Construct? Real-World Connections
You might wonder, "Why do all this when I can just use a protractor to measure angles or a ruler to measure lengths?" The answer is precision and understanding!
- Precision: Constructions teach you to be incredibly precise with your drawings. Every step matters!
- Foundational Understanding: These basic constructions are the building blocks for much more complex geometric figures used in architecture, engineering, design, and even computer graphics. Architects use these principles to design buildings, engineers use them for mechanical parts, and artists use them for perspective drawings.
- Problem Solving: It's a fun way to solve problems visually and logically!
Conclusion
You've taken your first steps into the exciting world of geometric constructions! Remember, it's about using simple tools – a straightedge and a compass – to create perfectly accurate shapes and lines. These foundational skills, like creating perpendicular bisectors and angle bisectors, are not just interesting puzzles; they are essential building blocks for understanding and interacting with the geometric world around us. Keep practicing, and you'll become a master builder of shapes!
Keep learning, free
Create a free Syllabax account to unlock practice questions and games for this topic.
Visual Learning Enhanced! 🚀
To help you master this topic, we use Advanced Syllabax AI to generate detailed diagrams and visual models.
Note on Visuals: The AI sometimes makes spelling errors in image labels. Please refer to the lesson text for the correct terminology.