Digital Art Tools: Colors & Shapes
Watch this topic in 60 seconds
Free preview · Lesson 1
Understanding Digital Art Tools: Colors & Shapes
Digital Art Tools: Colors & Shapes (Grade 3)
Hello, young artists! Have you ever wanted to draw something beautiful or exciting but on a computer or tablet instead of paper? That's what we call digital art! Imagine a giant, magical drawing board where you never run out of paper or crayons. That's your digital canvas!
Today, we're going to explore two super fun and important parts of digital art: colors and shapes. Think of these as your basic building blocks, like LEGO bricks for your digital masterpiece!
Part 1: Discovering Digital Colors!
In traditional art, you might have a box of crayons, markers, or a paint set. In digital art, we have something even cooler: a never-ending supply of every color imaginable! It’s like having a candy store just for colors!
1. The Color Palette: Your Digital Crayon Box
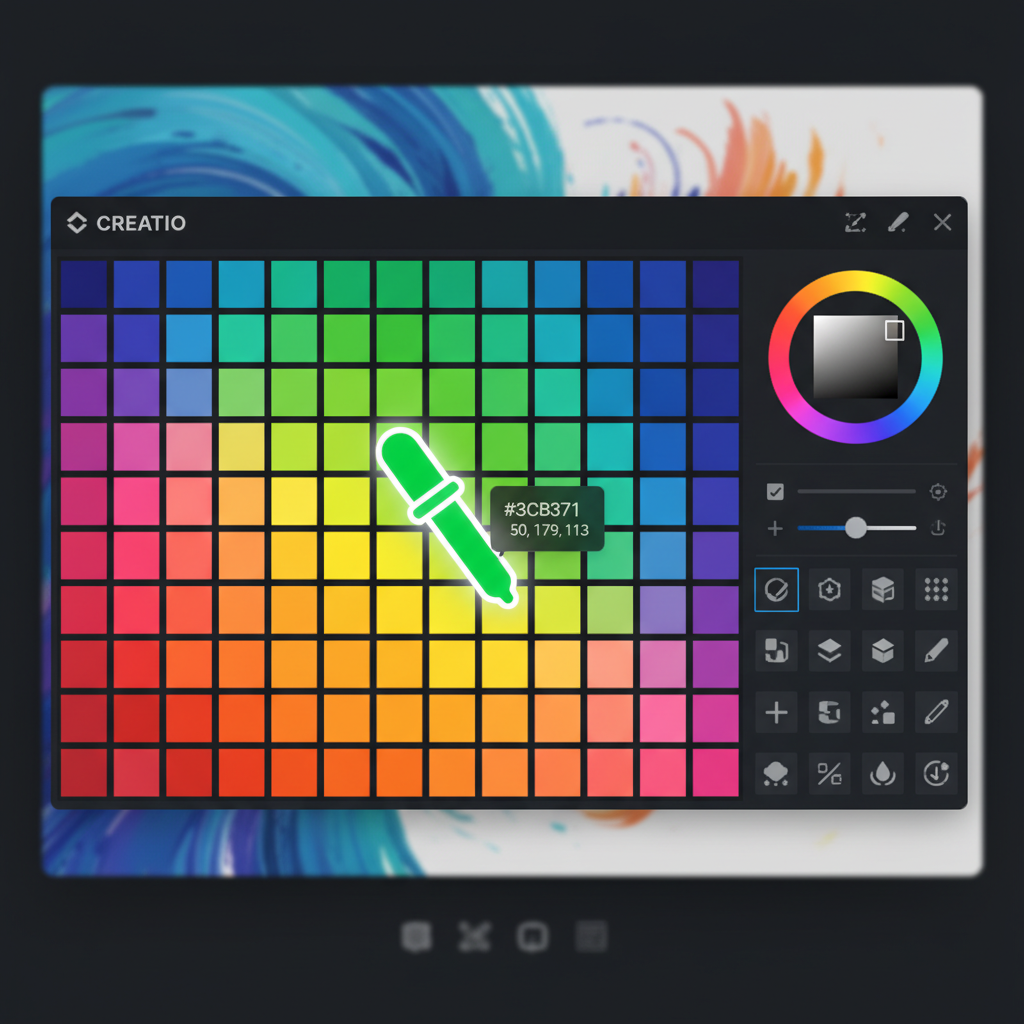
When you open a digital art program, you’ll usually see a section with lots of little colored squares or a rainbow wheel. This is called the color palette. It’s like your giant box of crayons or markers, but instead of picking up a physical crayon, you just click on the color you want to use!
Analogy: Imagine you're at an ice cream shop, and the color palette is like the big menu showing all the different ice cream flavors (colors) you can choose from. You just point to your favorite!
2. The Color Picker: Finding Just the Right Shade
Sometimes, you might want a color that isn't directly on the palette – maybe a slightly darker blue or a super light pink. That’s where the color picker comes in! It often looks like a eyedropper tool or a big square with a rainbow gradient. You can click and drag around to find the exact shade you’re looking for. It's like a magic magnifying glass that helps you find thousands of tiny color variations!
Analogy: Think of the color picker like a magic wand that lets you reach into a rainbow and pull out any exact shade you can dream of, not just the basic colors.
3. Using Colors: Painting and Filling
Once you've picked your color, what can you do with it? Lots! You can use a brush tool (like a digital paintbrush) to draw lines and strokes in that color. Or, you can use the fill tool, which often looks like a paint bucket. If you click the fill tool inside an enclosed shape, it will instantly fill that whole shape with your chosen color! It's like pouring a whole bucket of paint into a swimming pool – *poof*, it's full!
 ⚠️ This picture may have spelling mistakes. Trust the words in the lesson.
Part 2: Exploring Digital Shapes!
Shapes are the skeletons of your digital art. They give your drawings structure and form. Just like you can cut out different shapes from paper, digital tools let you make perfect circles, squares, triangles, and more with just a click!
1. Basic Shapes: Your Digital Cookie Cutters
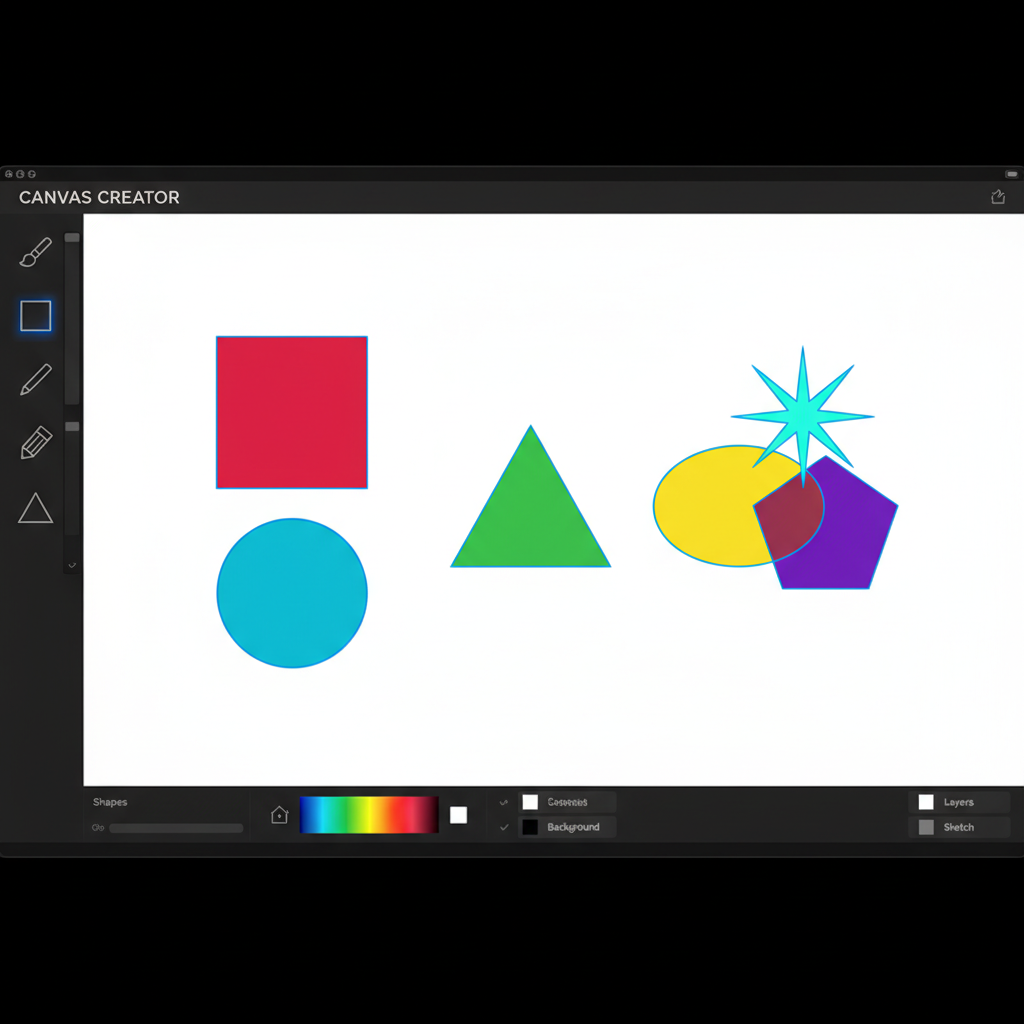
Most digital art programs have special shape tools. These tools let you draw perfect squares, circles, triangles, rectangles, and even stars with very little effort. You simply click on the shape tool you want (for example, the circle tool), click on your canvas, drag your mouse, and *voila* – a perfect circle appears!
Analogy: These shape tools are like magic cookie cutters. Instead of cutting dough, they cut out perfect shapes on your digital canvas. No wobbly lines or uneven sides!
- Rectangle Tool: Makes perfect rectangles and squares.
- Circle Tool: Makes perfect circles and ovals.
- Triangle Tool: Makes perfect triangles.
- Line Tool: Makes perfectly straight lines.
2. Drawing Shapes: Click and Drag Magic!
To use a shape tool, you usually:
- Click the shape tool icon (like the square or circle).
- Click on the spot on your digital canvas where you want the shape to start.
- Drag your mouse to make the shape bigger or smaller, or change its proportions.
- Release the mouse button when the shape looks just right!
3. Filling and Changing Shapes
Once you’ve drawn a shape, it often appears as an outline. This is where your color tools come back into play! You can select a color from your color palette and then use the fill tool to pour that color into your shape, making it solid. You can also change the color of the outline itself!
Most programs also let you resize shapes (make them bigger or smaller), move them around, or even rotate them (spin them around) after you've drawn them. It’s like playing with shape stickers that you can change anytime!
Putting It All Together: Creating Art!
Imagine you want to draw a house. You could use the rectangle tool for the walls, then the triangle tool for the roof. Then, pick a brown color from your color palette and use the fill tool to color the walls. Maybe a red color for the roof! For windows, you could draw smaller squares and fill them with a light blue.
The best part about digital art is that you can always undo mistakes! There's usually an 'undo' button (often an arrow pointing left) that acts like a magic rewind button, taking you back a step if you don't like something. So, don't be afraid to experiment!
Digital art gives you amazing power to create. With just colors and shapes, you can build incredible worlds, characters, and scenes right on your screen. The more you practice, the more amazing your digital art will become!
Keep learning, free
Create a free Syllabax account to unlock practice questions and games for this topic.
Visual Learning Enhanced! 🚀
To help you master this topic, we use Advanced Syllabax AI to generate detailed diagrams and visual models.
Note on Visuals: The AI sometimes makes spelling errors in image labels. Please refer to the lesson text for the correct terminology.